WordPress is a powerful and reliable platform for building websites. However, unexpected server issues can occasionally prevent visitors from accessing your pages. This provides a poor user experience and can turn people away – which is a big problem if your site generates income.
That’s where a custom 404 page can come in handy. Creating this type of page helps to preserve a more positive user experience in the event of an error. You can use it to point visitors towards other functional content on your site, such as by providing a search field or displaying interesting products.
In this post, we’ll start by discussing the benefits of creating a custom 404 page. Then we’ll share four ways you can do just that. Let’s get to it!
Why You Might Want to Create a Custom 404 Page
When your website is experiencing server issues, some of your visitors may encounter a 404 error page. Since there is a problem with the page they are trying to access, this can understandably be frustrating, especially if the page is devoid of information. Some users may end up leaving your site entirely (or even assume they’ve already been kicked out).
However, a custom 404 page can turn things around. That’s because well-made, branded 404 pages may actually help to keep people on your site for longer. For example, the Nintendo website has an excellent custom 404 error page:
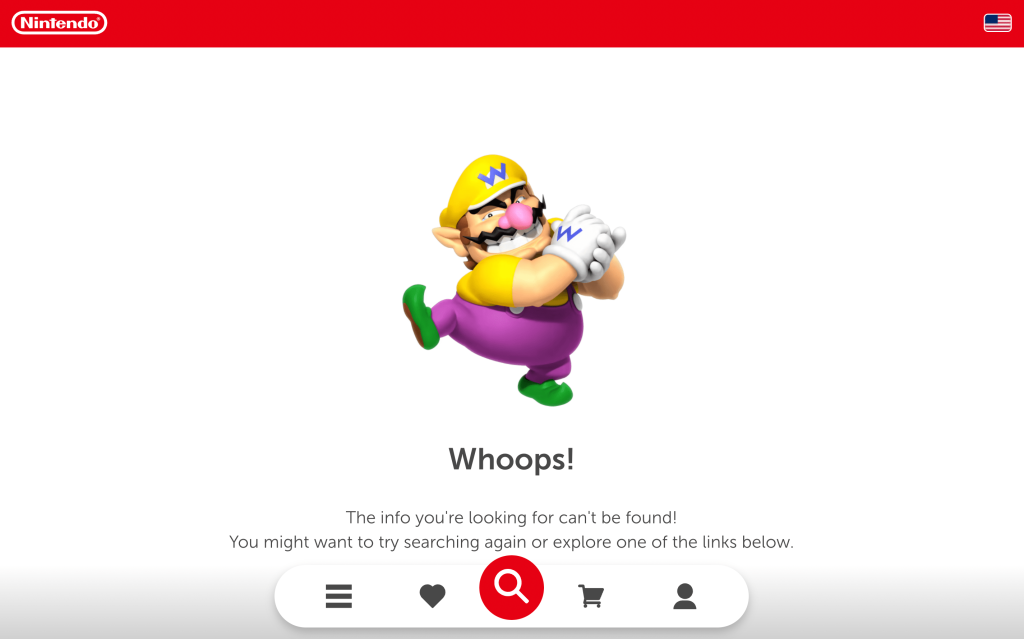
As you can see, it includes clearly branded elements, like the Nintendo colors and the Wario character. That way, visitors are assured that they’re still on the correct website.
What’s more, this page provides multiple links to other useful pages and features. Visitors can easily access the website’s menu, use the search tool, return to their account pages or wishlists, and even proceed to checkout.
While all of that might not be necessary for simpler WordPress websites, you can still learn a lot from this example. Most importantly, this custom 404 page doesn’t really interrupt users as they make their way through the conversion funnel. It seamlessly guides visitors through a potentially-annoying experience, even reminding them of potential conversion opportunities.
Of course, ultimately you want your website to be working optimally at all times. So if you notice that your visitors are encountering a lot of 404 errors, this might indicate a larger issue with your hosting provider.
In that case, it may be time to reconsider your current web host and start looking for a higher-quality option. At HostDash we offer WordPress hosting plans starting at just $2.95 per month, with an uptime guarantee of 99.9%.
How To Create a Custom 404 Page in WordPress (4 Ideas)
Now, we’re going to share four ideas for creating a custom 404 page in WordPress. Any of these might be suitable for your site, or you may want to combine approaches.
If you want to follow along with any or all of these methods, start by creating a fresh page in WordPress and titling it “404 Error Page” (or something similar). Then open it in the block editor and use these ideas for design inspiration!
(Don’t worry, we’ll show you how to configure the result as your custom 404 page using a plugin too.)
1. Include Branded Elements
If you don’t create a custom 404 page, how it appears will depend on your WordPress theme. While this provides you with the bare minimum (informing visitors there’s been an error), the page may lack important elements of your brand, such as your signature imagery and tone.
If you want to enhance your 404 error page, consider including these missing details. This way, your customers will be less likely to think they’ve been completely kicked off your site.
Let’s look at a good example of this:

As you can see, GIPHY’s 404 page communicates its brand personality very effectively. It includes a funny GIF (the cowboy crying face), and uses simple text to explain that the page isn’t found. The messaging you include here can also help lead in to the other custom features on your 404 page.
Within the WordPress block editor, you can use many types of blocks to make your custom 404 page stand out. Simply click on the plus symbol to browse your options, or use the search feature to find one. For instance, you might want to use the paragraph block, the image block, or even the GIF block:
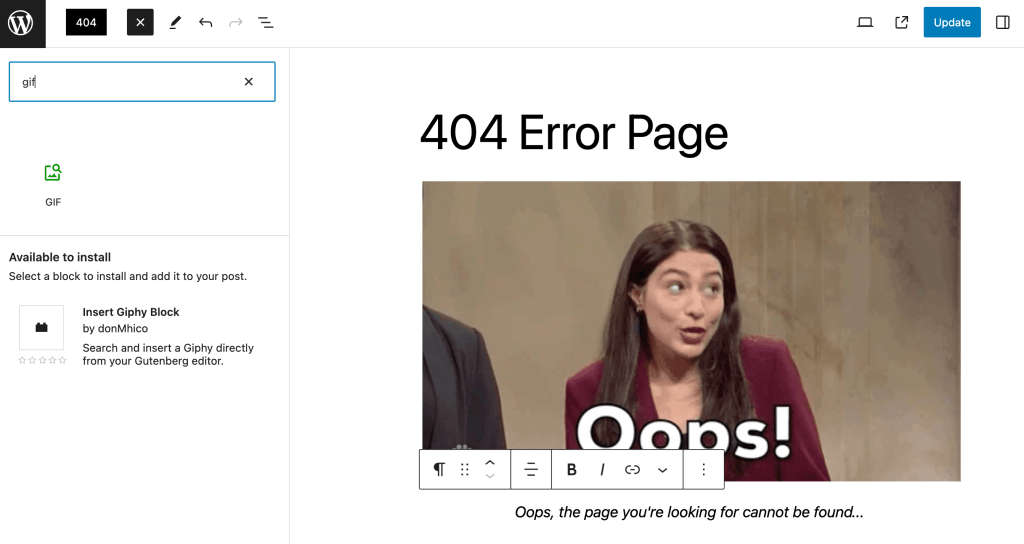
In the above example, we’ve used the paragraph and GIF blocks to add some personality to our 404 page.
2. Add a Search Box
One of the easiest and most effective ways to improve a 404 page is to include a search box. When you add this simple feature, users will be able to easily navigate to other locations on your site, and continue on their journeys with your brand or business.
To do so, simply add the Search block to your page:
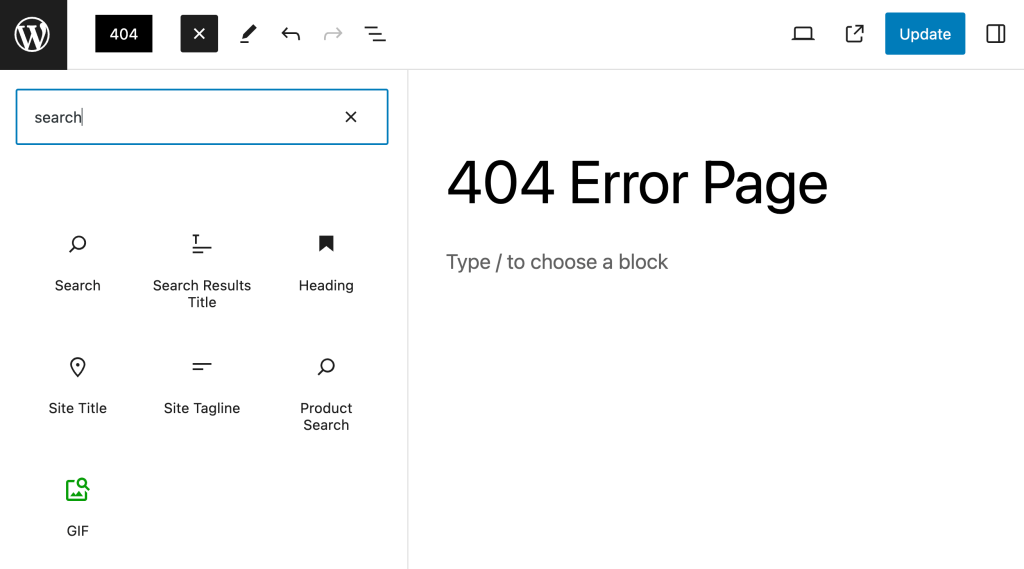
This default block contains all the basics you’ll need:
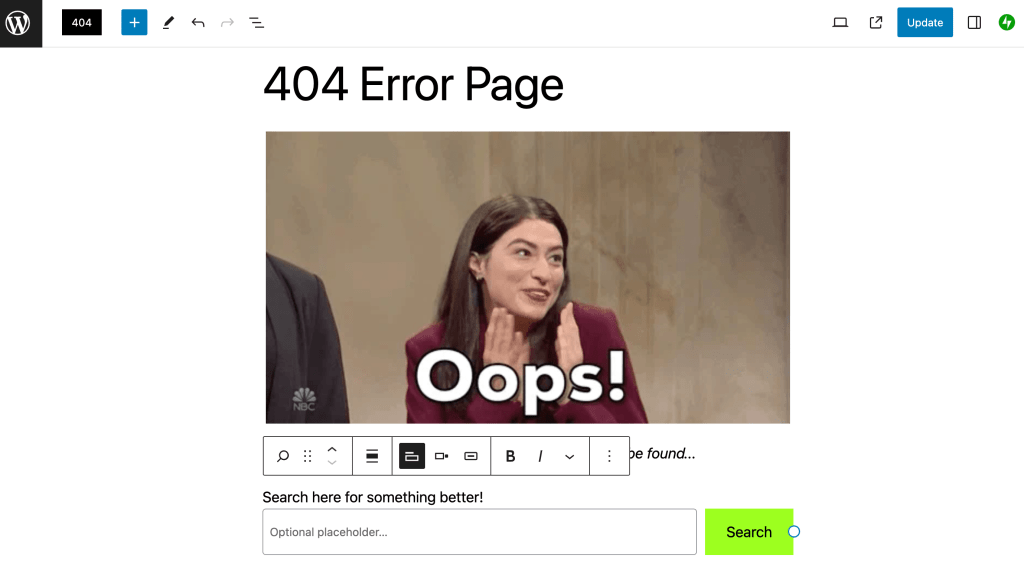
However, you can customize the text, button, and placement of your search bar to fit your brand and audience.
3. Insert a Subscription Form
Subscription forms ask people to sign up to receive emails from you or your business. For example, you may send out a weekly email newsletter. Alternately, you might want customers’ email addresses so you can send them periodic promotions and deals.
Whatever your goal might be, you can add this type of form to your custom 404 page. That way, you can encourage visitors to convert even if the page they were trying to access isn’t available.
Once again, the WordPress block editor makes this easy. You can add the Form block and then choose one of its templates:
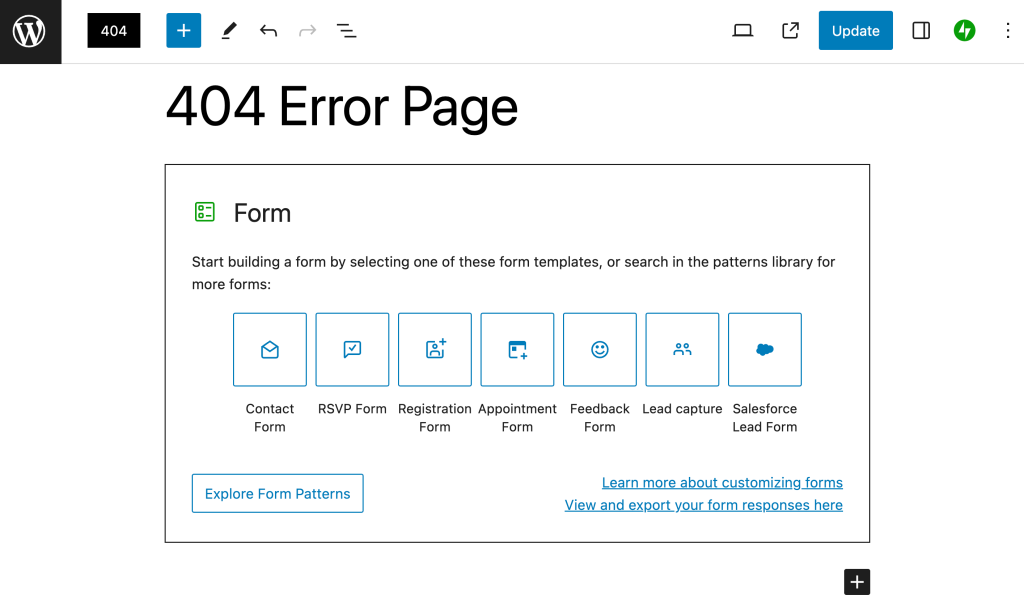
Note that after adding the block, you will be prompted to activate the contact form feature if you’ve never used it before.
When building a subscription form, the Contact Form template is usally best:
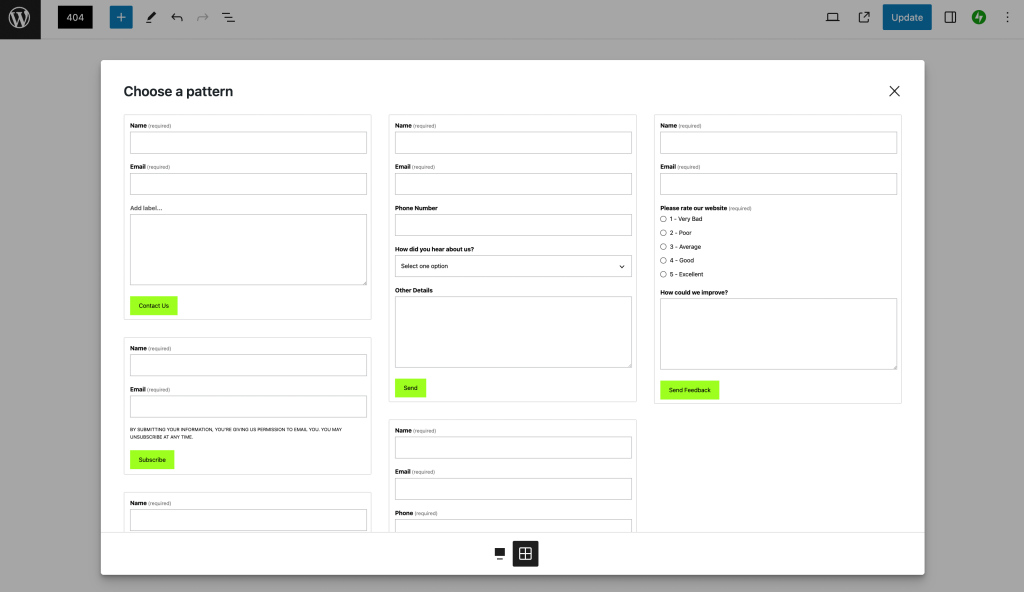
You can also select Explore Form Patterns to check out additional options:
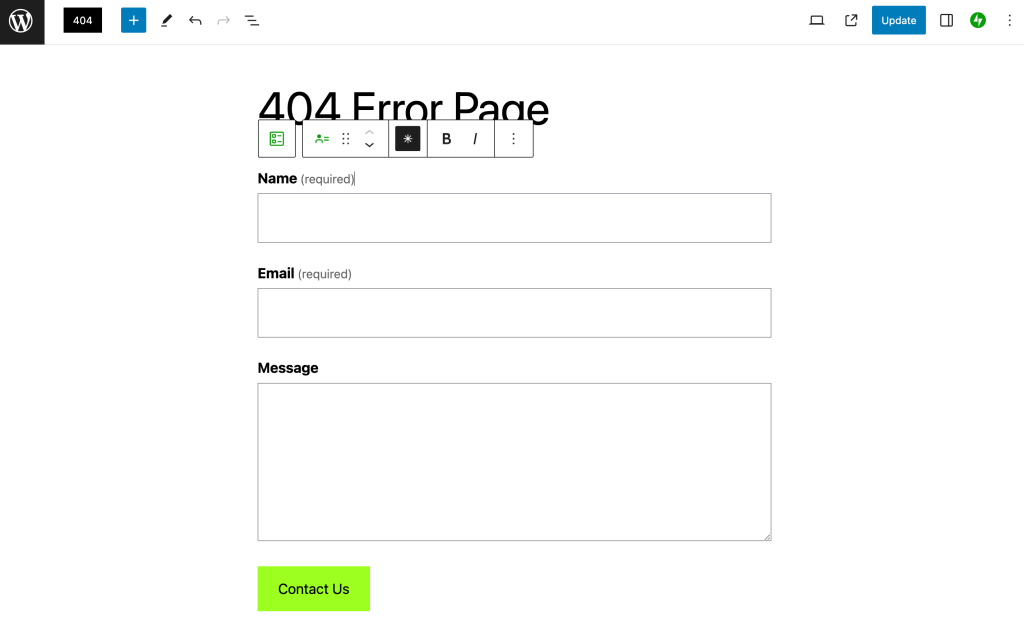
Once you’ve inserted the form into your custom 404 page, you can further personalize the fields. You can hover over each field to activate the menu options.
For example, you can change the font formatting or make a field “required” by selecting the asterisk. Then you can customize the appearance of the button, to ensure that it stands out.
Of course, it’s important to note that a subscription form can be a pretty large design element. So you may want to take some time deciding where to place it on your page. What’s more, you should probably avoid over-cluttering your custom 404 page with other large elements.
4. Display Products
If you run an online store, another great way to encourage conversions on your custom 404 page is by displaying products. This immediately provides visitors with something interesting to check out next.
Simply open your custom 404 page in the block editor and search for the “product” blocks:
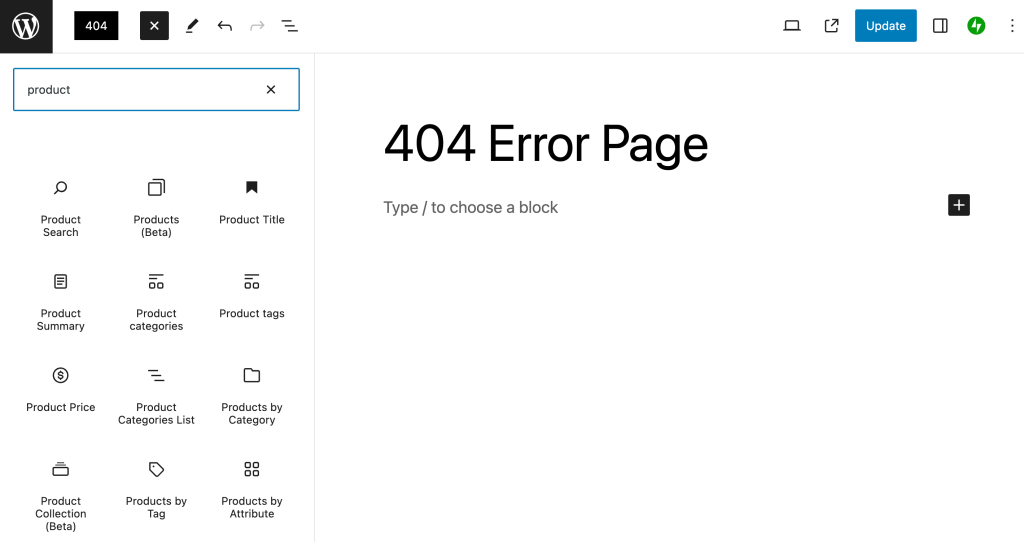
There are a number of options, so you’ll want to look for whatever is most relevant to your needs:
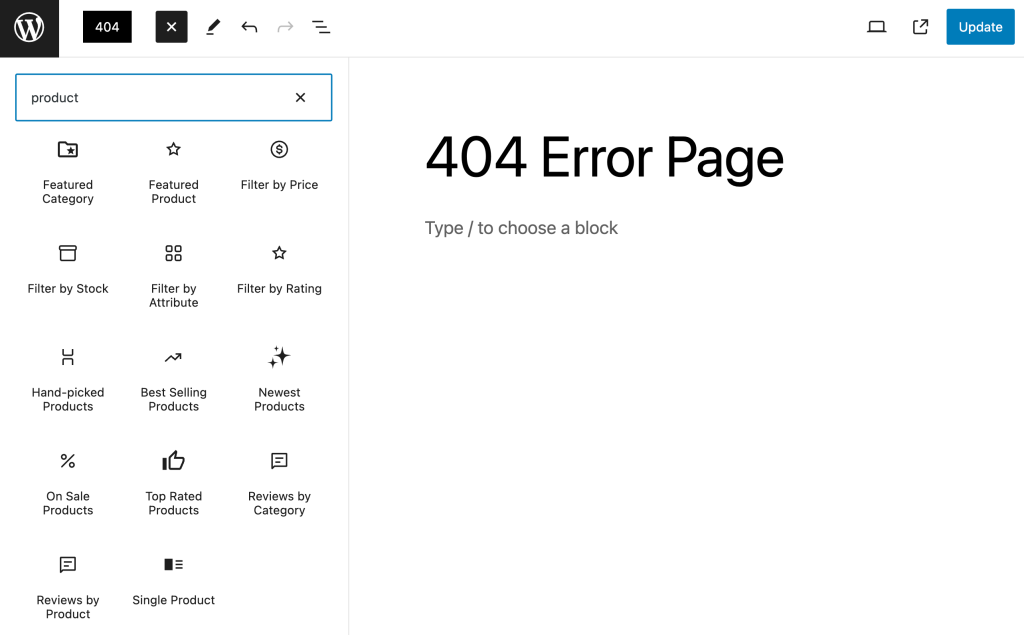
For example, you can use your custom 404 page to advertise best-selling products, top-rated items, or even new additions.
Here’s how the result might look:
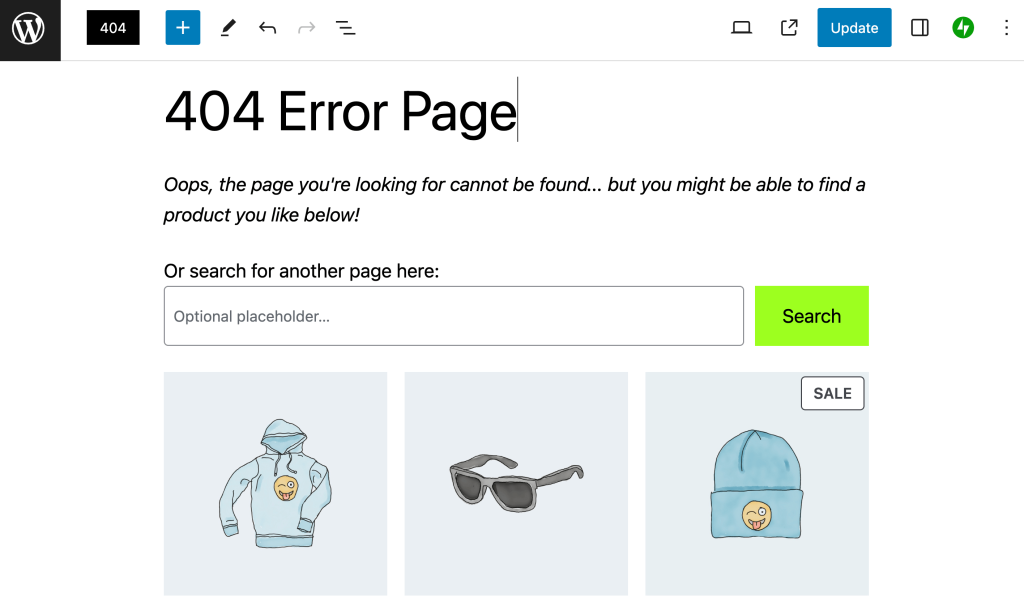
Be sure to save your changes when you’re finished customizing your 404 page!
How To Configure Your Custom 404 Page Using a WordPress Plugin
Once you’ve created your custom 404 page, you’ll want to publish it. Then you can use a WordPress plugin such as Smart Custom 404 error page to set it up so it’s presented to visitors at the appropriate time.
Start by installing and activating the plugin. Then go to Appearance > 404 Error Page:
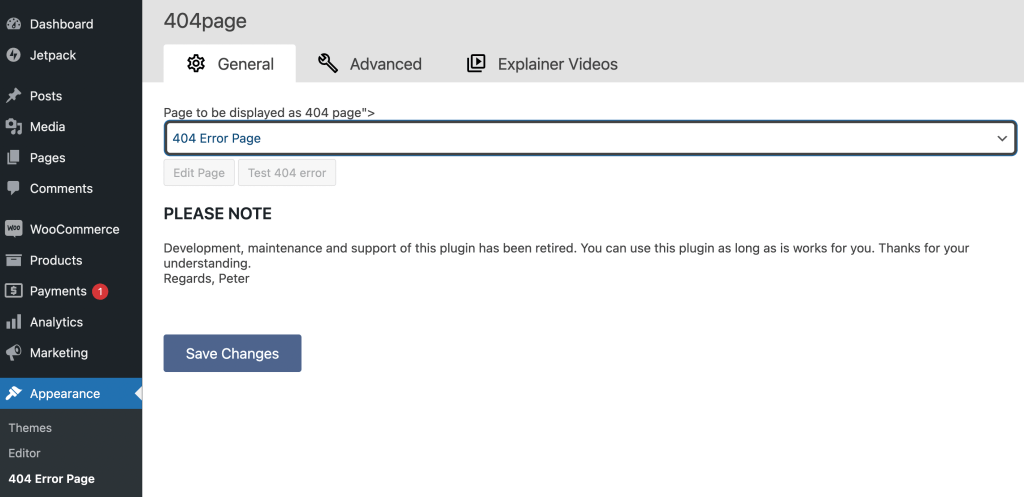
Here, select your new 404 page in the drop-down menu and hit Save Changes. That’s it! Now visitors will see your page when they encounter this error, rather than the default page.
It’s also important to note that once you select a page and save your changes here, you’ll see the Edit Page option, which will open the block editor. However, we recommend building out the page before configuring the plugin. Otherwise, your incomplete 404 page will go live, and people will see it before it’s actually done.
Conclusion
When your visitors are presented with a default, uninformative 404 page, they’re more likely to abandon your WordPress website. As a result, you could end up losing out on conversions. Fortunately, you can prevent this by creating a strategic, custom 404 page.
It’s best to build this page using the WordPress block editor, then configure it using a free plugin like Smart Custom 404 error page. To make the page recognizable, you’ll want to include branded elements like your site’s logo and colors. Then you can add a search tool, so users can easily explore alternative pages. You can even include a subscription form or display products to increase conversions.
At the end of the day, however, you’ll want to avoid errors and ensure that your WordPress site is performing optimally at all times. If you’re concerned that your hosting provider may be the root of the problem, consider upgrading to a top-notch (yet affordable) platform like HostDash!
Image credit: Erik Mclean.