Do you want to create a content-based website like a blog, and find a way to monetize it easily? There are plenty of popular passive income strategies, such as affiliate marketing. However, many of them require an established audience, and can be time-consuming to maintain.
One of the best options is to start a WordPress membership site, and sell subscriptions that provide exclusive access to your best content. This also lets you cater to a wide range of customers, and benefit from cross-selling and upselling opportunities.
In this post, we’ll take a closer look at the reasons to sell memberships on your site. Then we’ll show you how to create your own WordPress membership site from scratch. Let’s jump right in!
Why It’s Beneficial To Sell Memberships on Your Website
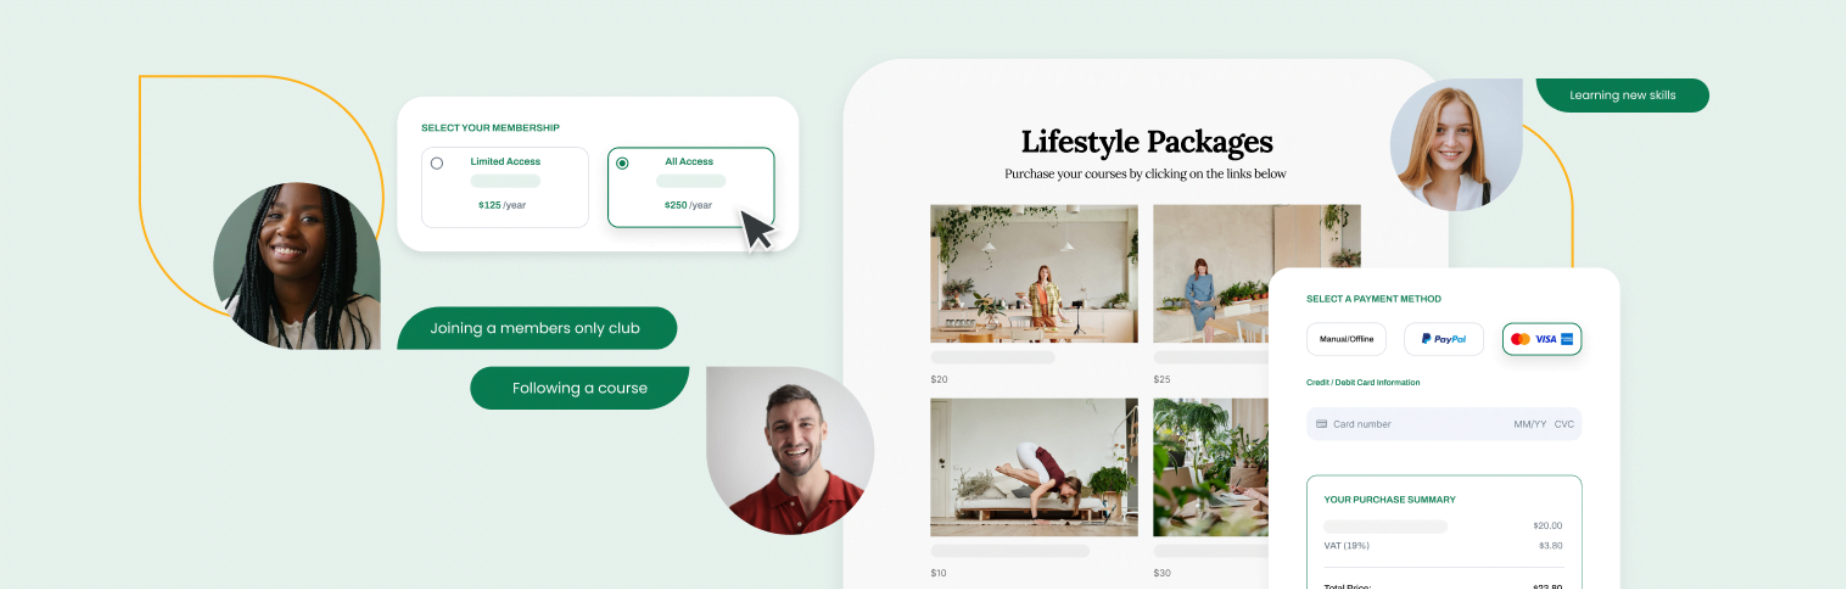
A WordPress membership site enables you to sell subscriptions, so paying members of your community can access premium content. You may still provide some of your content for free. However, if visitors want the best content or special perks, they have the option to purchase a membership.
This model offers plenty of benefits for you and your visitors. This kind of site can:
- Generate revenue. Subscriptions enable you to stabilize your earnings and bring in a largely passive income.
- Maximize sales. It can be easier to promote cross-selling and upselling opportunities when people show interest in your plans.
- Increase retention rates. You can provide rewards for loyal members, which is a great way to form strong customer relationships and nurture brand loyalty.
- Build a community. You’re able to build a community of like-minded people who are passionate about the same subjects.
- Attract a wide audience. You can cater to users on a budget and serve customers who want to pay for more.
- Keep costs low. Creating a membership site doesn’t require a significant financial investment. Plus, you can avoid ongoing costs associated with physical products (such as shipping and delivery).
- Low maintenance. You won’t have additional considerations like inventory space and packaging, which makes this monetization strategy easier than selling physical goods.
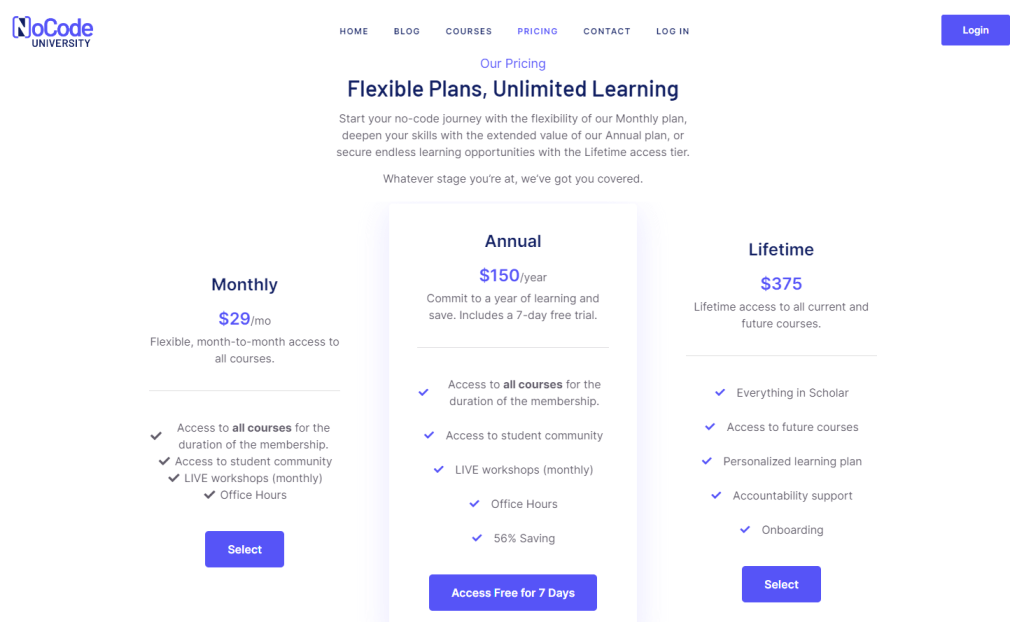
Memberships are a popular way to monetize content without using advertisements, as ads can disrupt your site’s UX and harm your credibility. Plus, it can be less time-consuming to implement than alternatives like affiliate marketing. This strategy is also a good fit for a wide range of websites, including blogs, photography sites, and more.
How To Start a WordPress Membership Site (In 5 Steps)
Now that you understand the reasons to create a WordPress membership site, let’s explore how to get started. These five steps will cover the basics you’ll need to get your website up and running.
1. Choose a Quality Web Host and Install WordPress
If you want to set up any sort of website and make it publicly available on the internet, you’ll need the following components:
- A domain name
- A web hosting provider
- A Content Management System (CMS)
Your domain name usually matches the name of your website, and is therefore important for branding purposes. While you can get a domain from any reputable domain registrar, some web hosts offer free domains with their hosting packages.
For instance, at HostDash we provide free domain registration with many of our hosting plans. Plus, you can also get a free SSL certificate to enhance your website’s security – which is essential if you plan to accept payments on your site.

We offer server locations in the EU and the U.S., and all plans support unlimited traffic and storage. All of this helps you maintain a smoothly-running site with fast loading times.
What’s more, a web hosting package like this offers the simplest way to set up a website. We’ll install WordPress automatically, so you don’t have to do so yourself (or configure a server). Your website will be up and running right away.
Although there are a number of CMSs to choose from, WordPress is an excellent option since it’s free, open-source, and beginner-friendly. Additionally, it’s very easy to customize your website with WordPress themes, and extend its functionality using plugins.
2. Select a Membership Plugin
WordPress plugins let you add new features to the baseline WordPress platform. For instance, you can install a membership plugin to unlock the ability to create membership tiers, accept recurring payments, and restrict access to premium content.
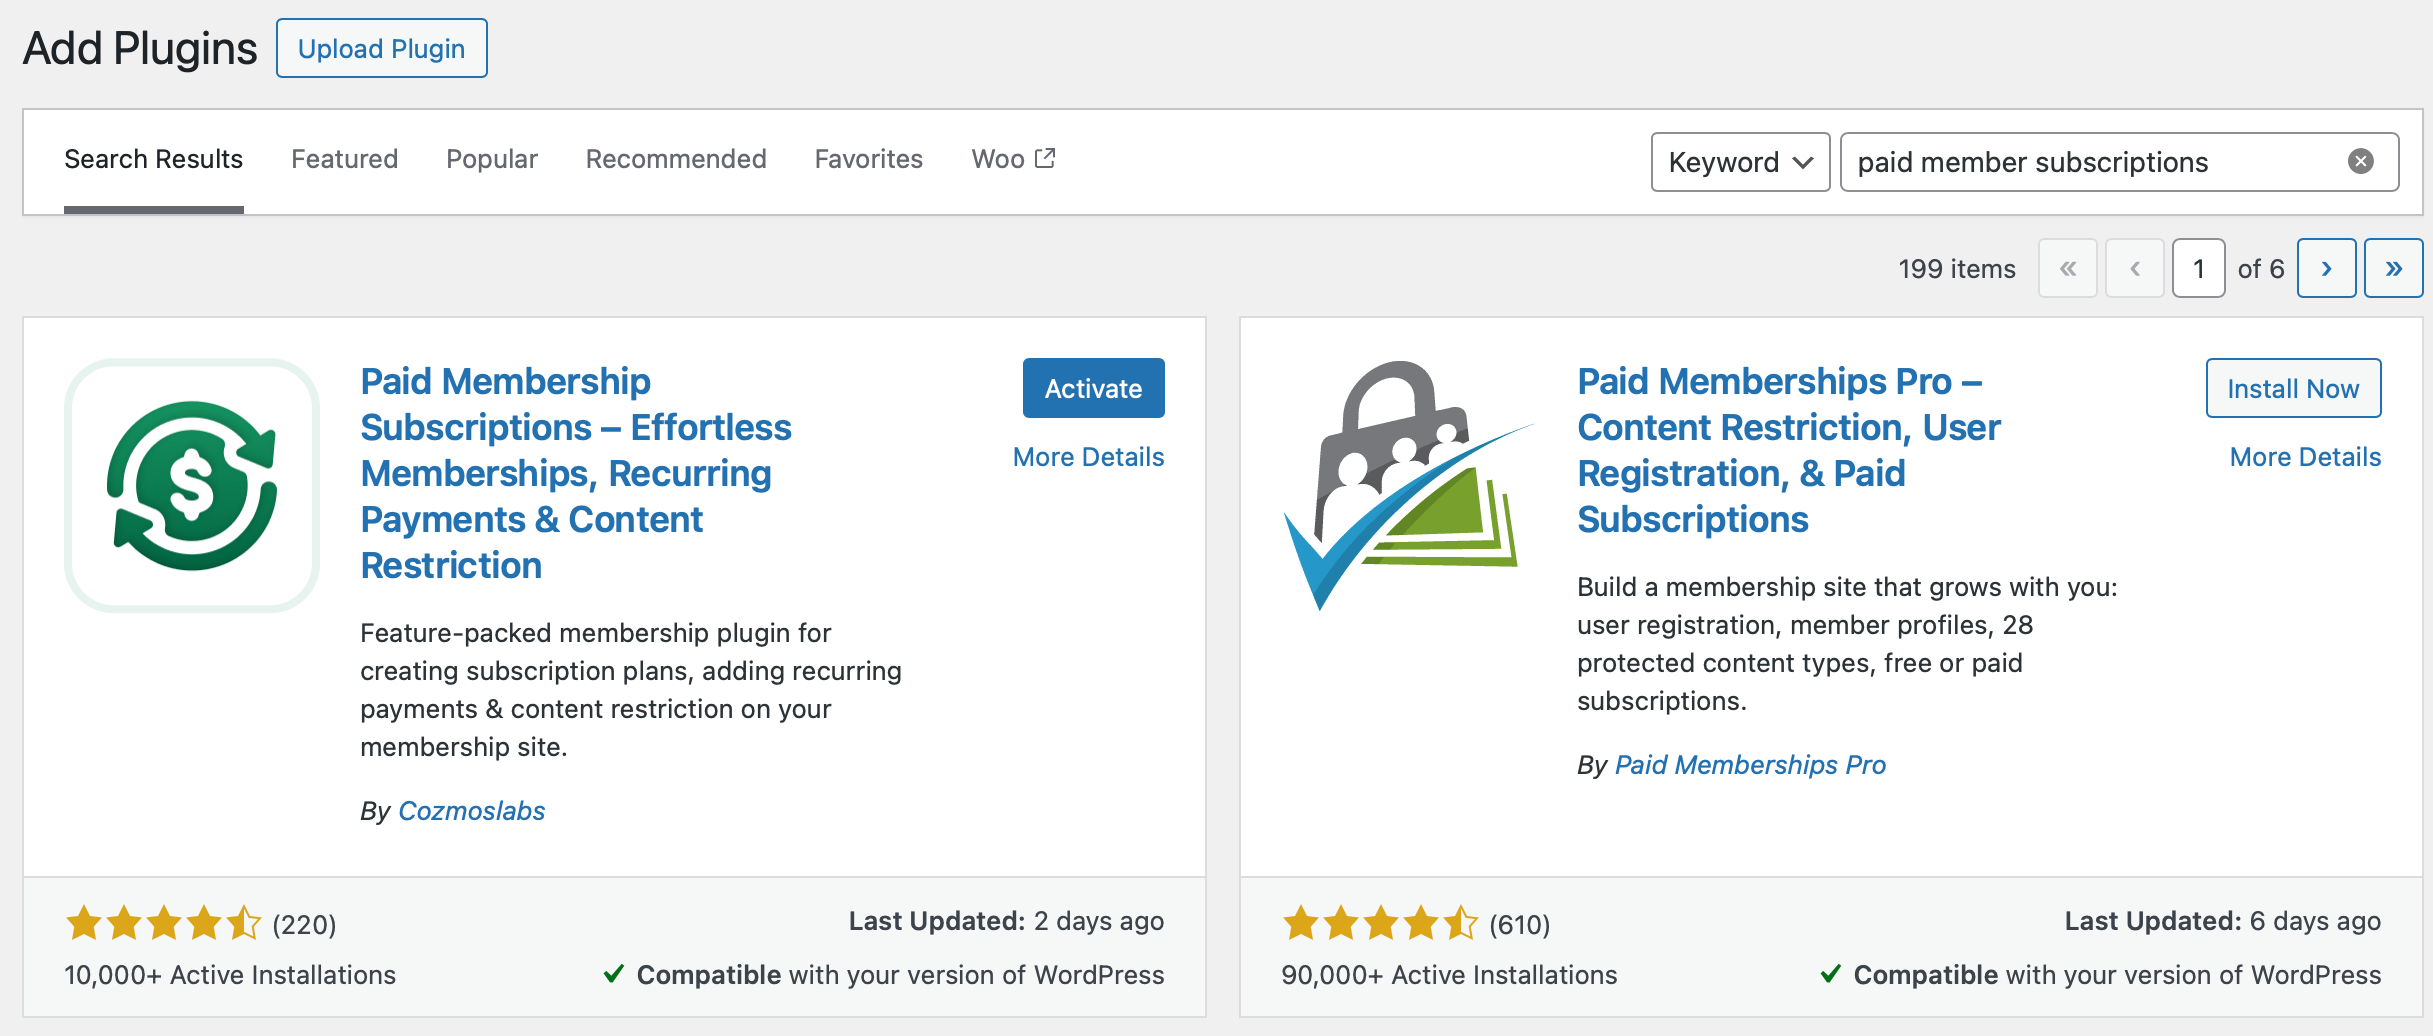
There are plenty of options available, but Paid Member Subscriptions is a solid choice:
This tool enables you to offer exclusive benefits for your members, build a thriving community, and even restrict product viewing (if you run an ecommerce website). As such, it works well for coaching businesses, consulting services, and online courses.
There is a premium version of the plugin, but the free tier will be sufficient for most users. To get started, go to Plugins > Add New in the dashboard of your new WordPress website.
Search for the correct plugin, and click on Install Now > Activate:
You’ll be guided through the setup procedure, where you can let the plugin automatically create key resources like a registration page and a login page:

You can also select a style for your forms, and choose your currency and payment gateways. However, you can change and configure these settings later in the Paid Member Subscriptions dashboard.
3. Create Your Subscription Plans
The next step in creating a WordPress membership site is to set up your subscription plans. With Paid Member Subscriptions, you can offer both free and paid tiers, and charge fixed or recurring payments for them.
To get started, head to Paid Member Subscriptions in the WordPress sidebar. Then go to Subscriptions Plans > Add New:
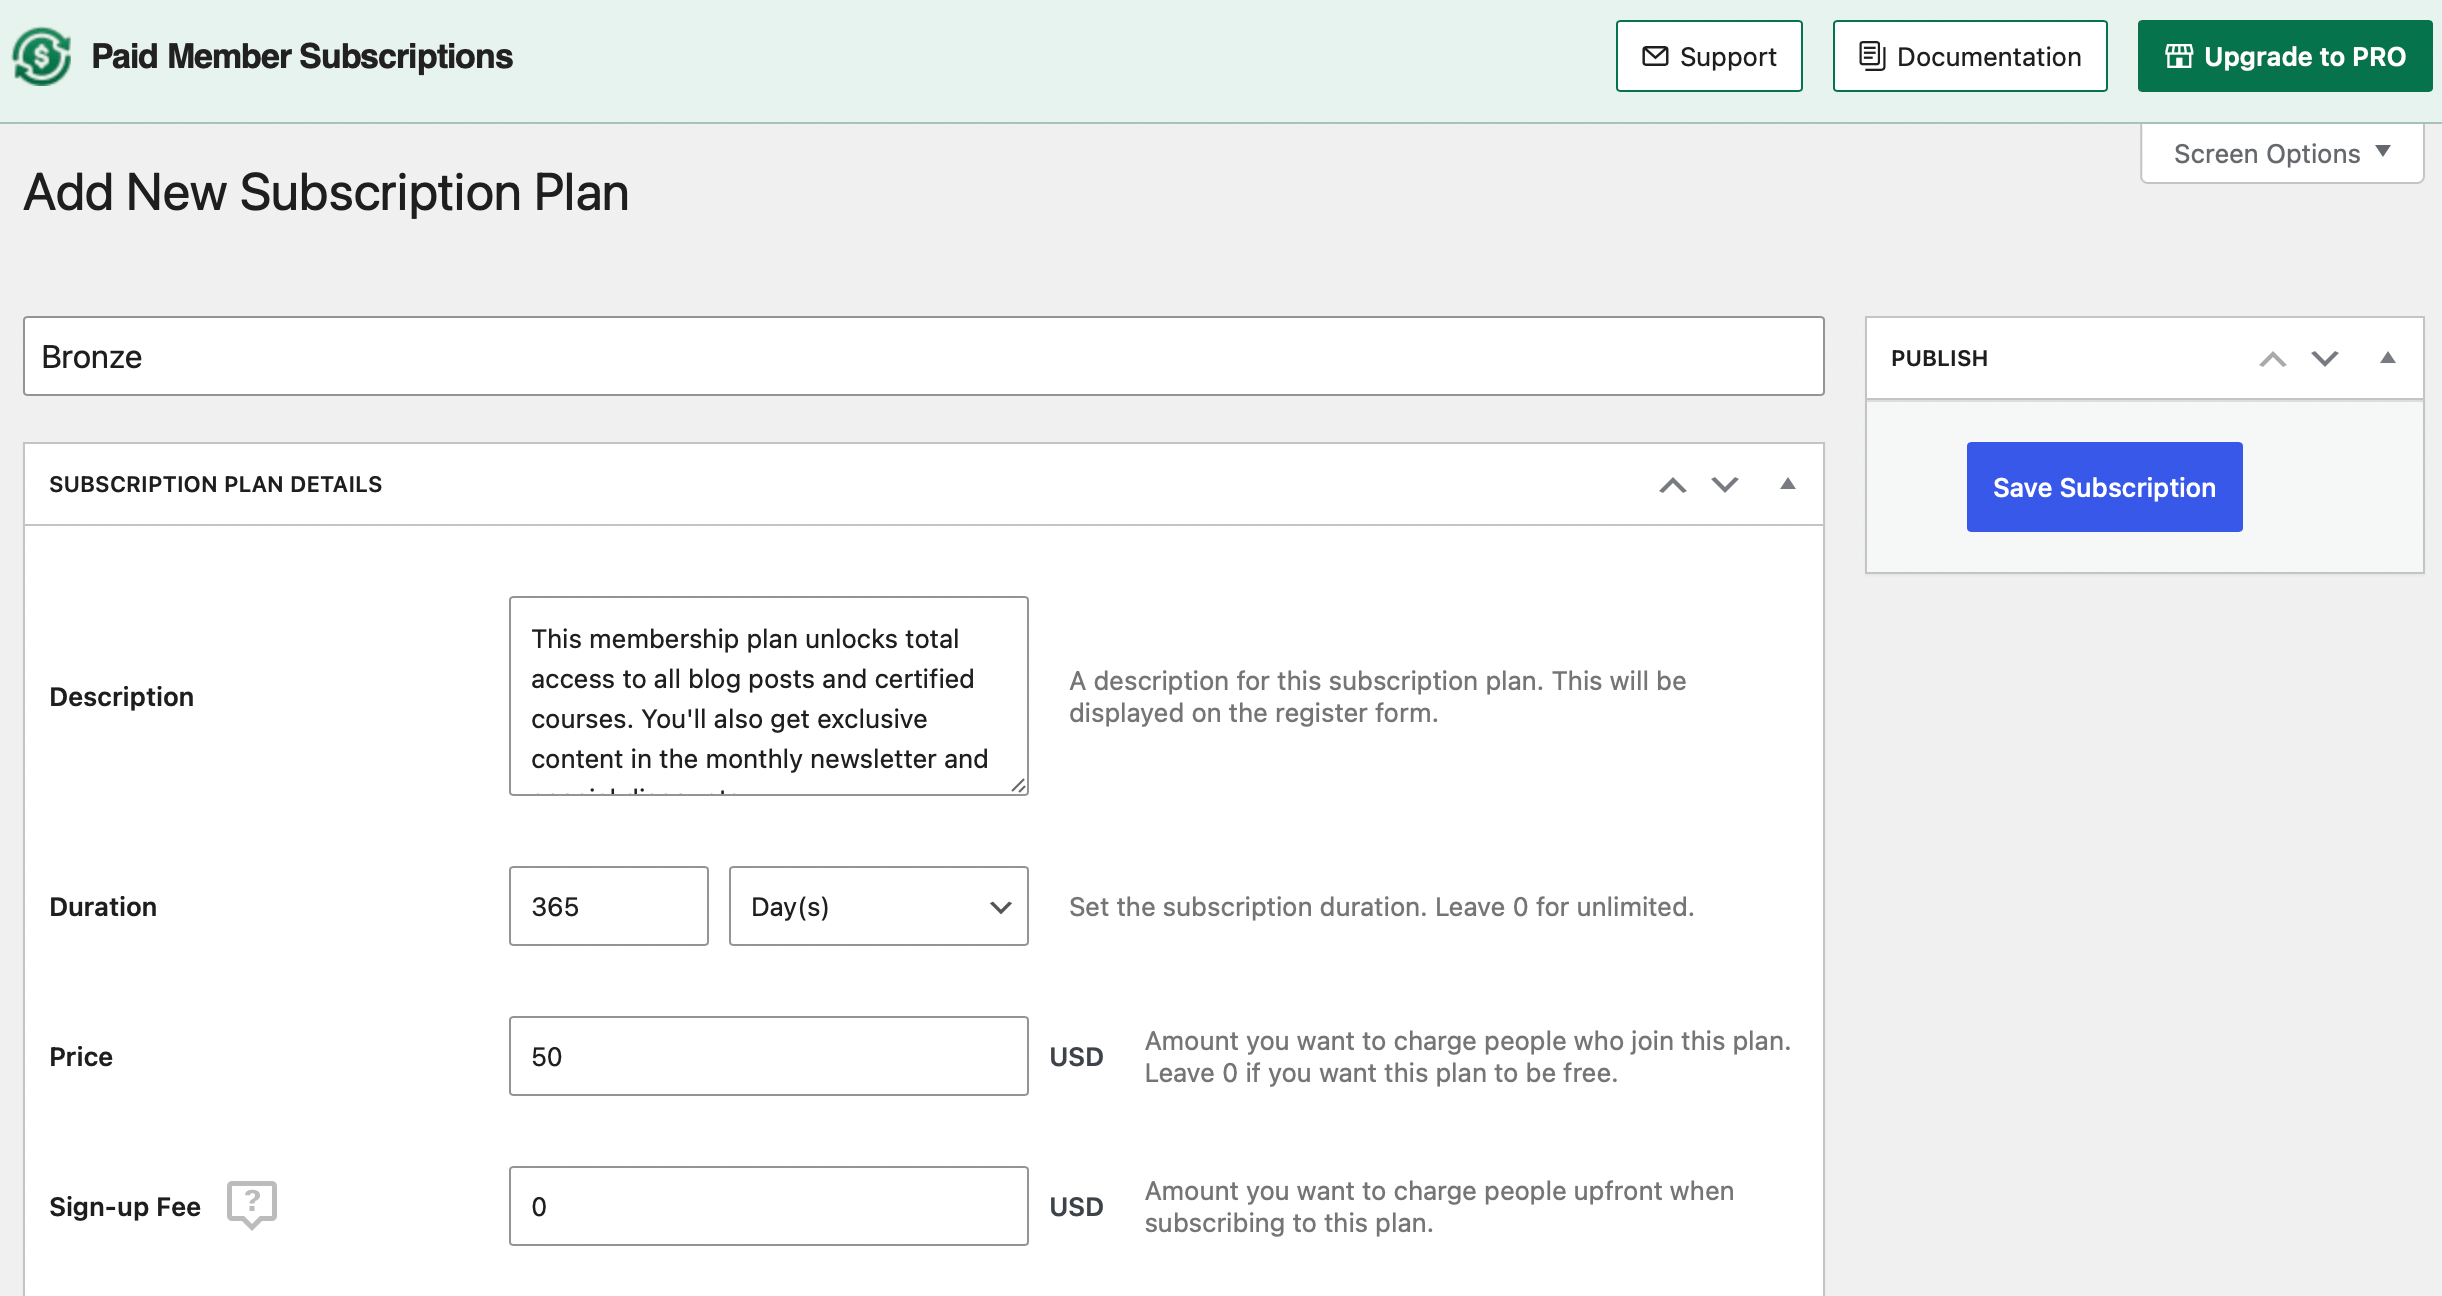
There, enter all the details for your first membership level. You’ll need to provide a name and description, define the subscription duration, and set a price. If your first membership tier is free, enter “0” in the price box.
Below, you’ll find options to enable free trials, select a renewal type, and add product discounts. Once you’re done here, select Save Subscription.
Keep in mind that you can also create tiered plans, so members can easily upgrade or downgrade. To do this, return to the Subscription Plans page and hover over one of your plans:
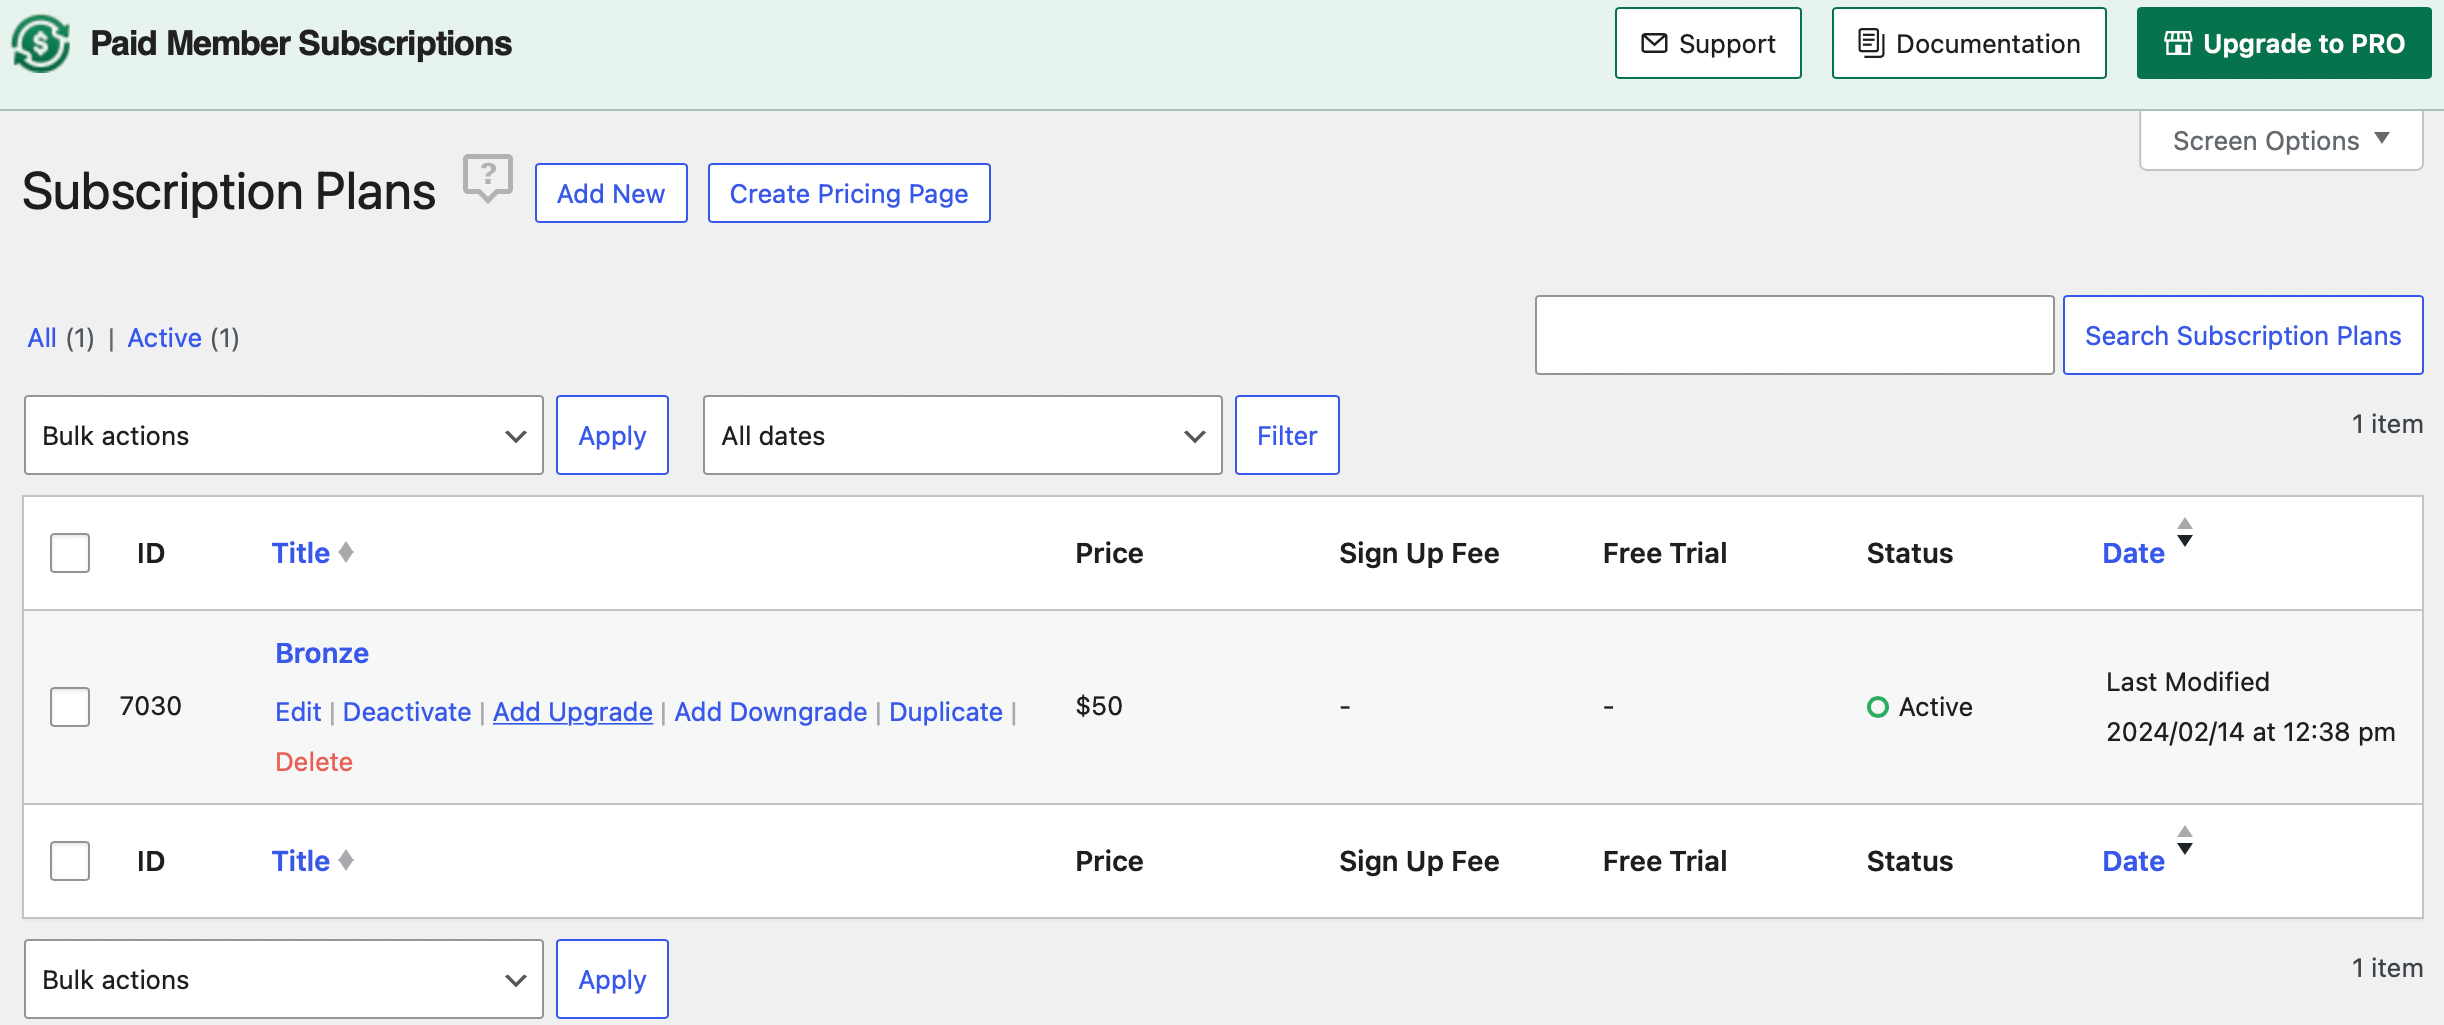
Then use the Add Upgrade or Add Downgrade link as relevant.
4. Add Your Preferred Payment Gateways
One of the most important steps in creating a WordPress membership site is activating the right payment gateways. If you didn’t configure your payment options in the setup wizard, you can do so now by going to Paid Member Subscriptions > Settings > Payments:
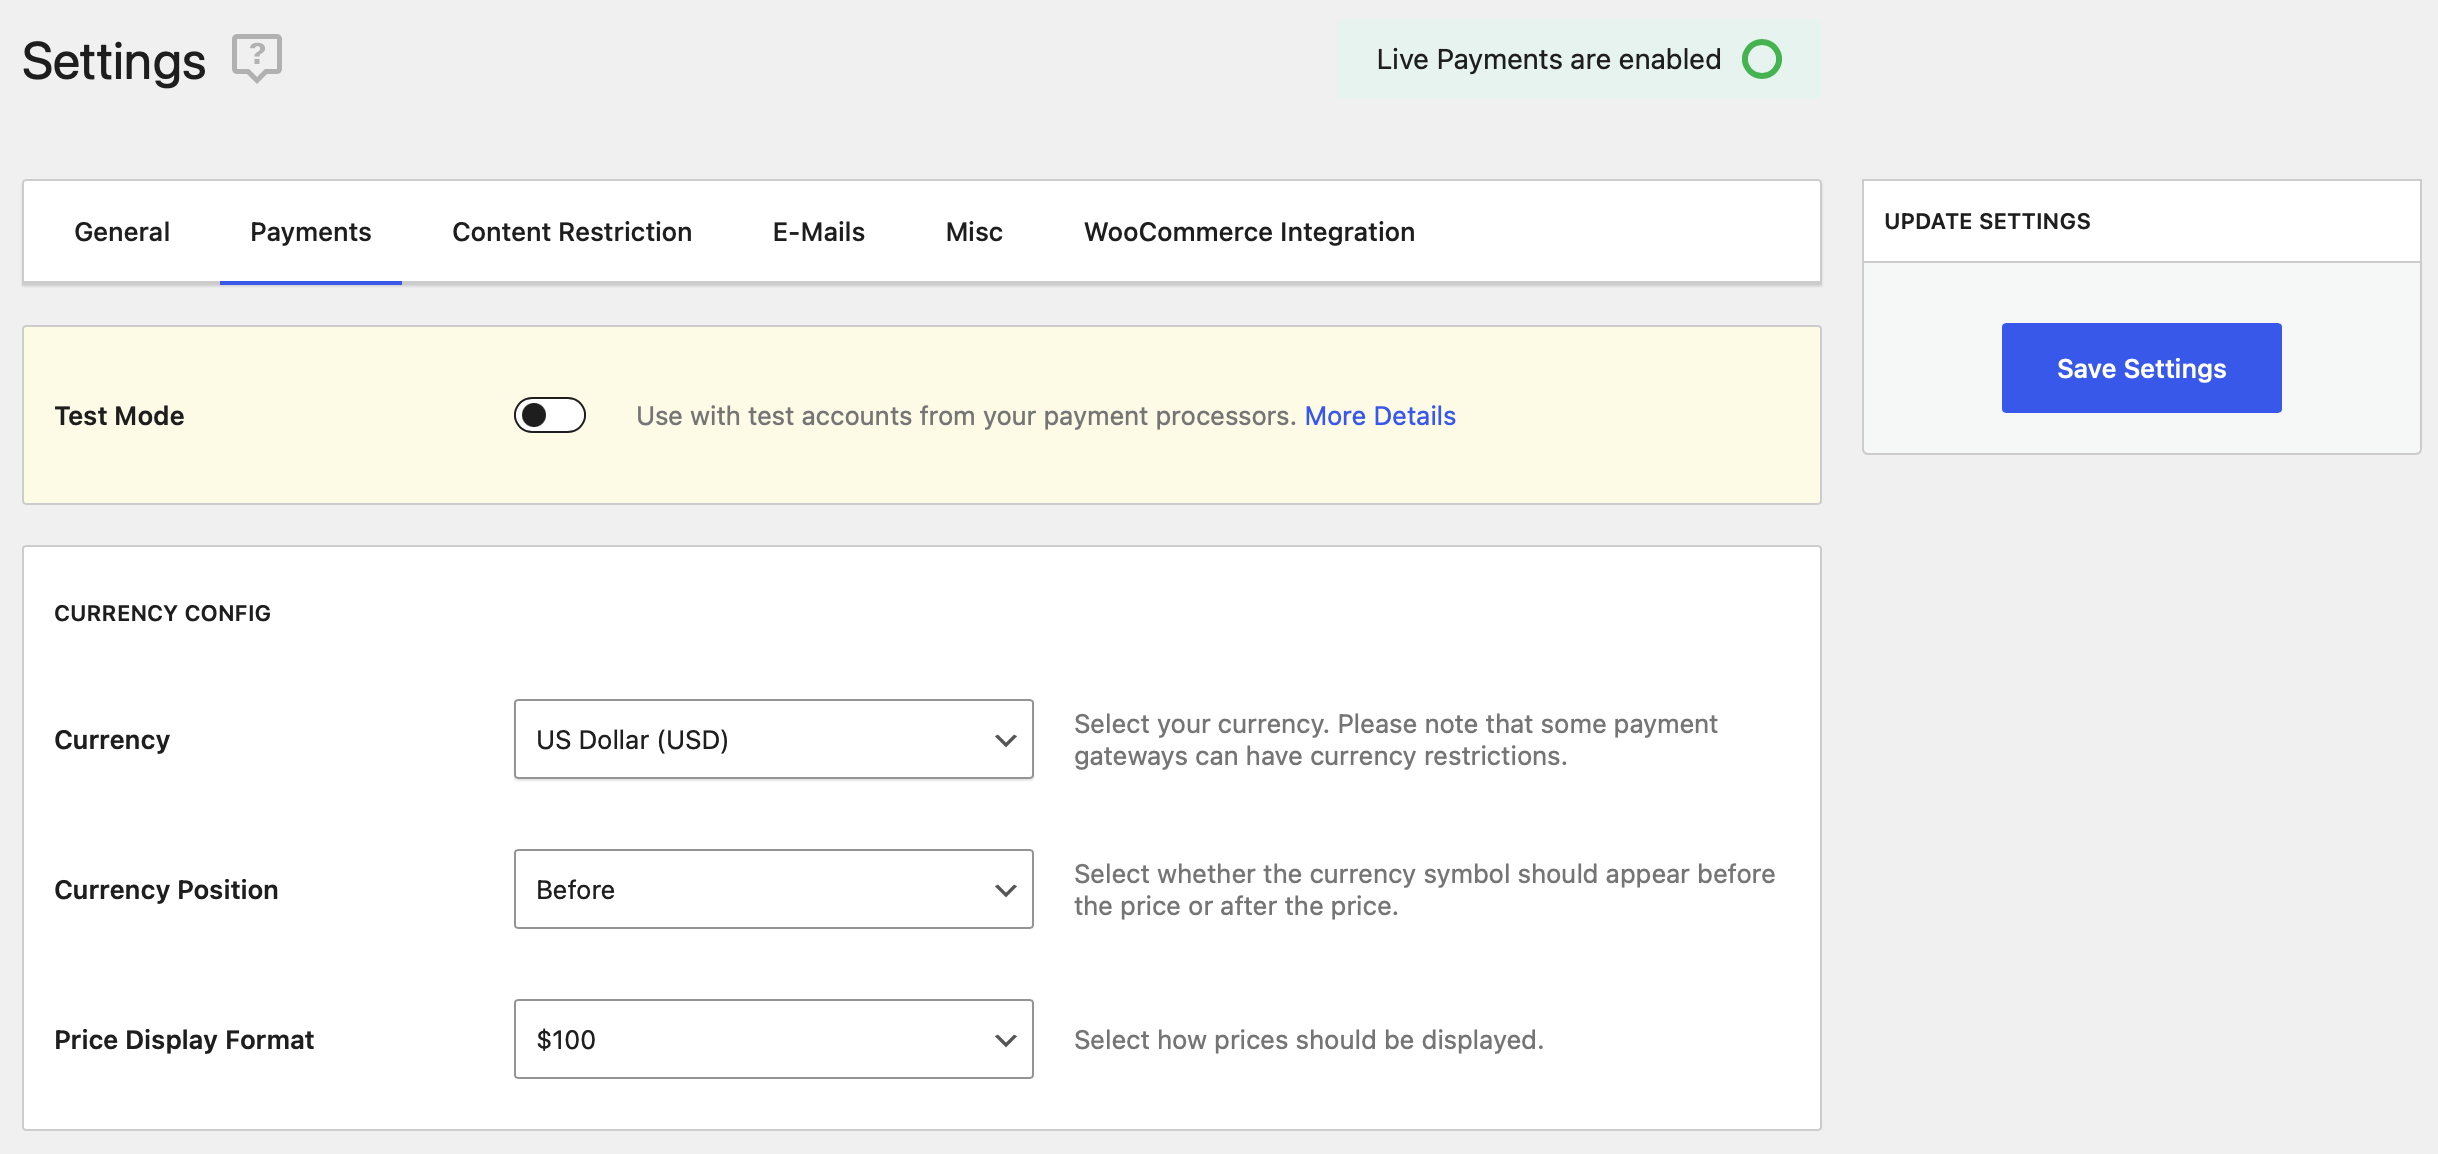
First, you can change the currency and adjust the price display format. Then you can activate your preferred payment gateways.
By default, Paid Member Subscriptions works with PayPal and Stripe. So use the toggles to enable each gateway you want (and select a default gateway using the drop-down menu):
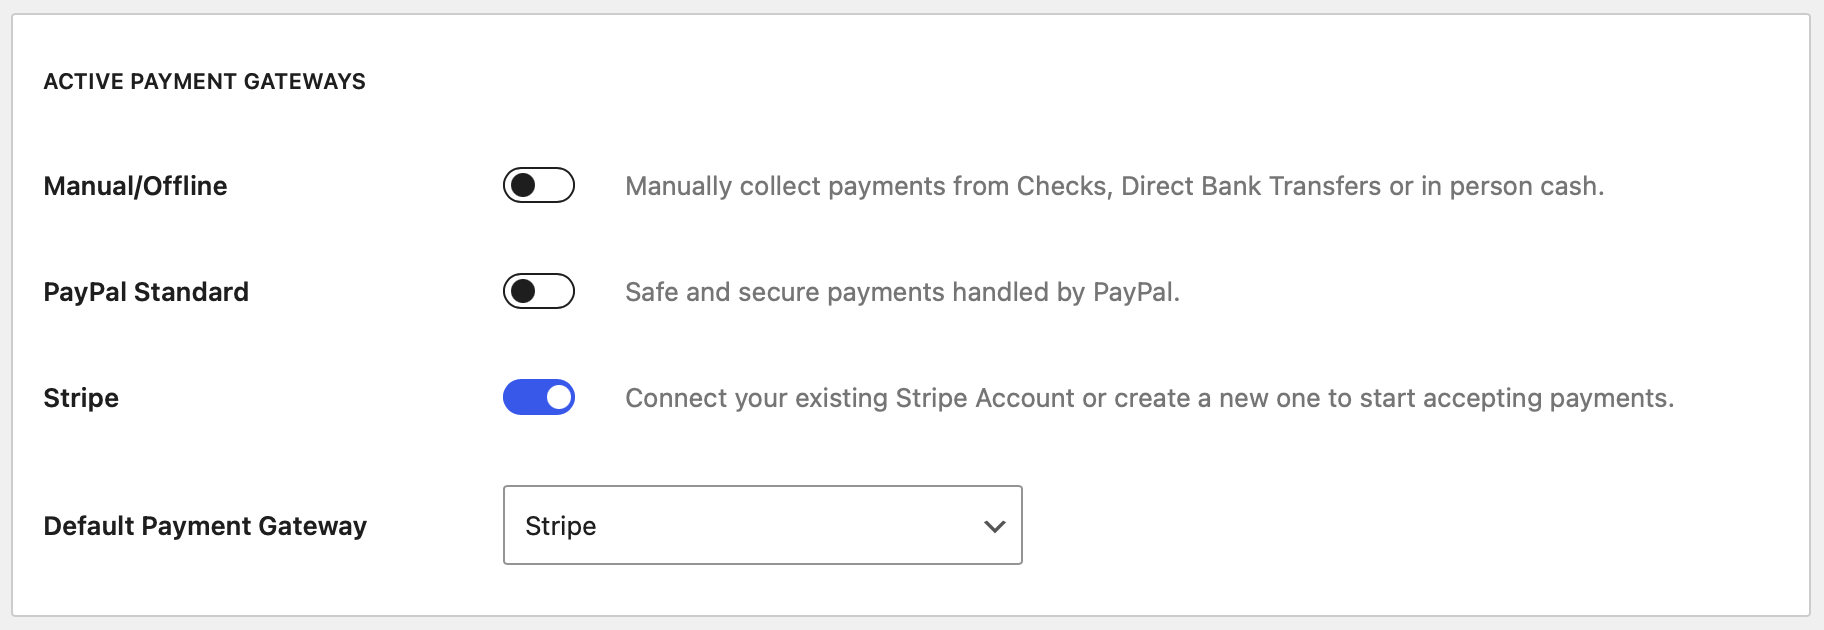
Then, at the bottom of the page, you can connect to your existing Stripe and PayPal accounts (or set them up now now).
The final section concerns your subscriptions. There, you can enable automatic renewals and allow subscriptions downgrades/changes.
5. Produce Members-Only Content (And Restrict Access To It)
At this point, you have all the basic functionality in place. The final step is to restrict access to premium content, so only those with a paid subscription can access it. You can do this with all kinds of content, from blog posts to online courses.
If you want to make some of your content accessible to everyone, it’s simple to restrict access to individual pieces of content. To do this, open up the WordPress block editor, and create some content! You might start with a simple blog post.
Then scroll to the bottom of the page and find the Content Restriction box. There, you can determine which plans or visitors can view this particular piece of content:
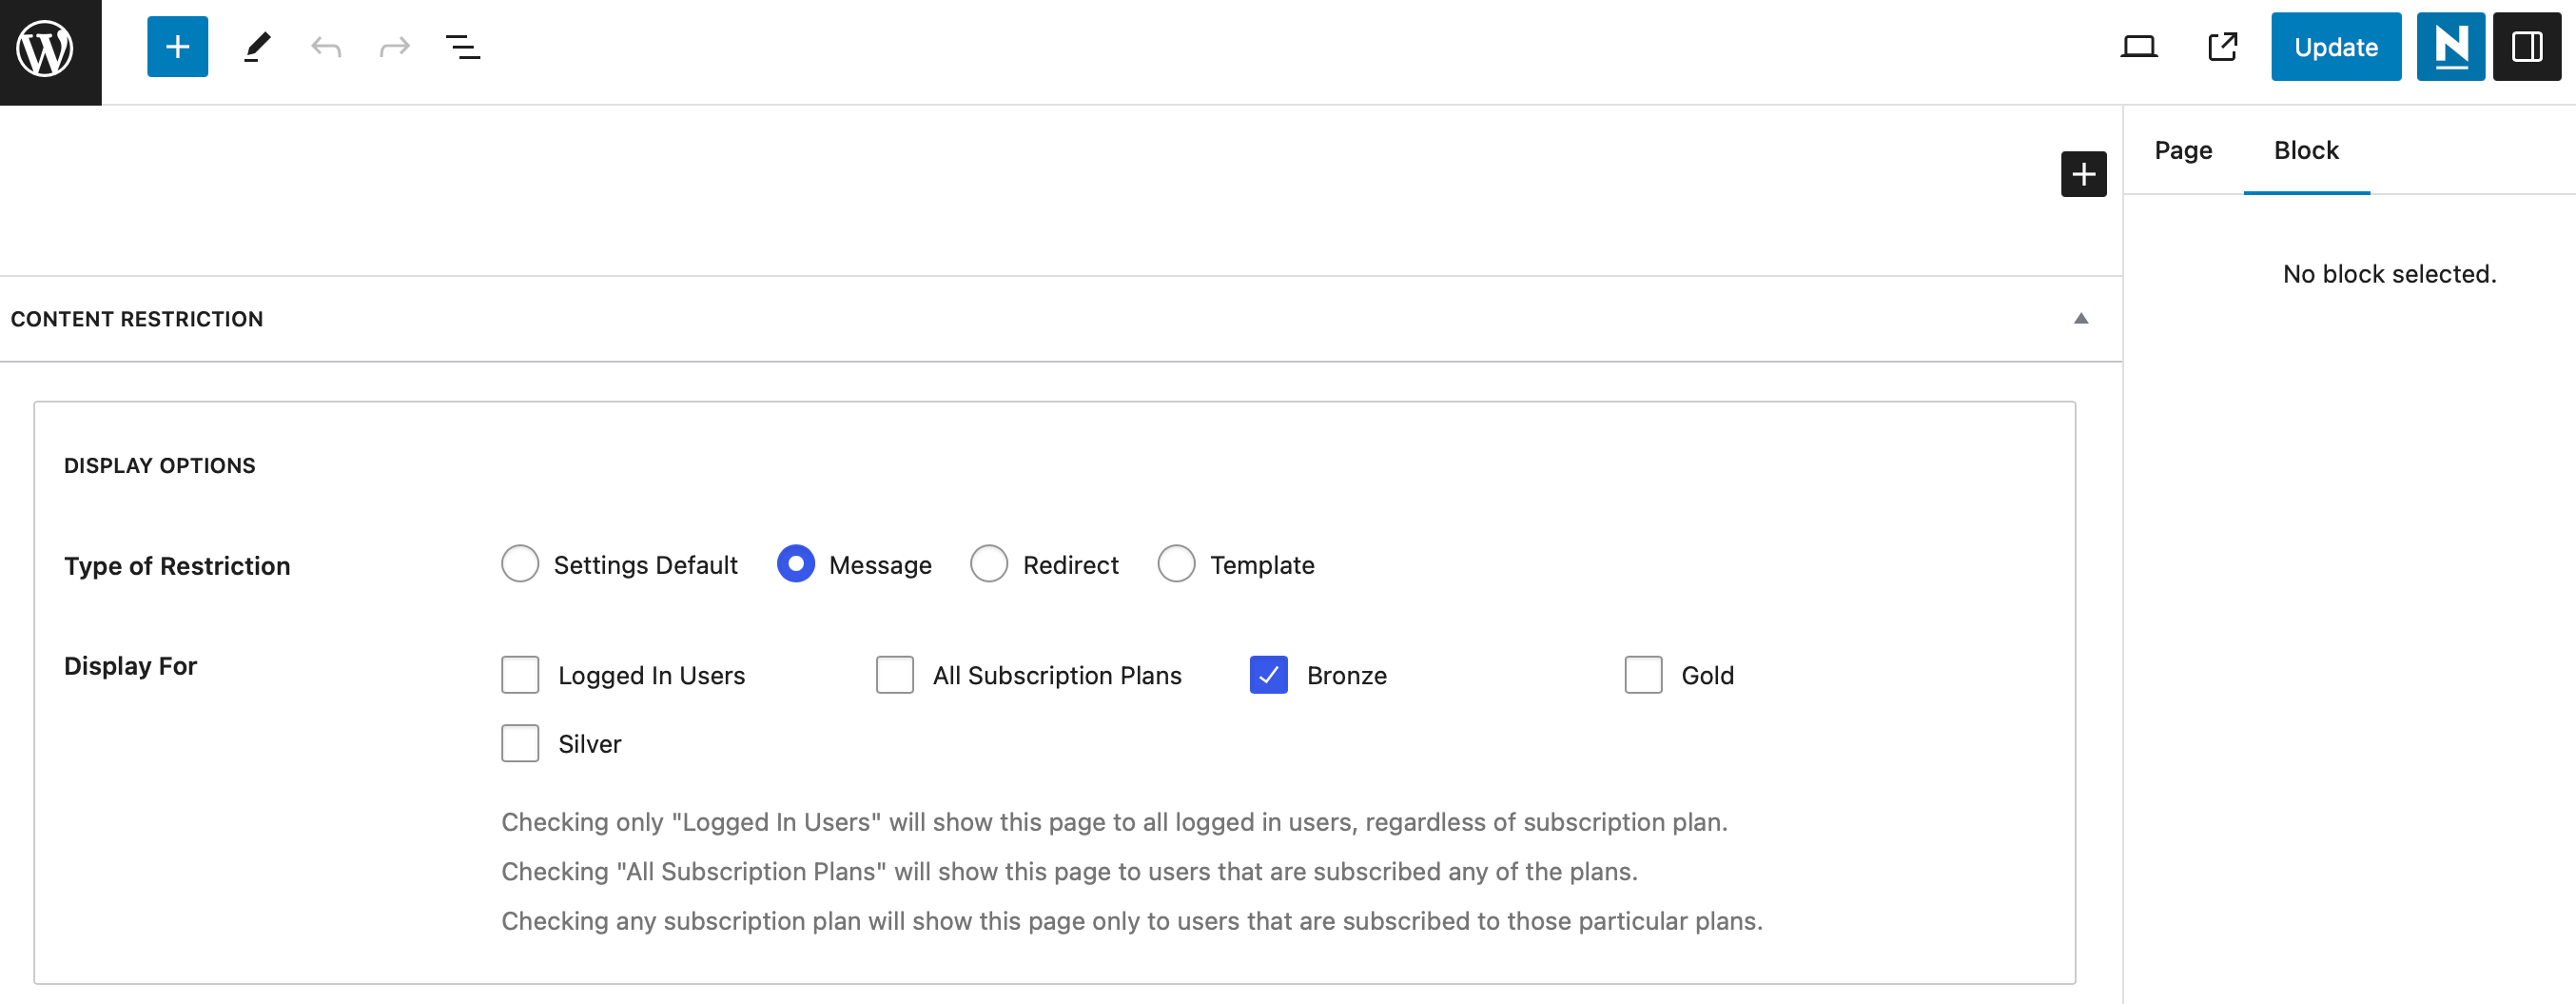
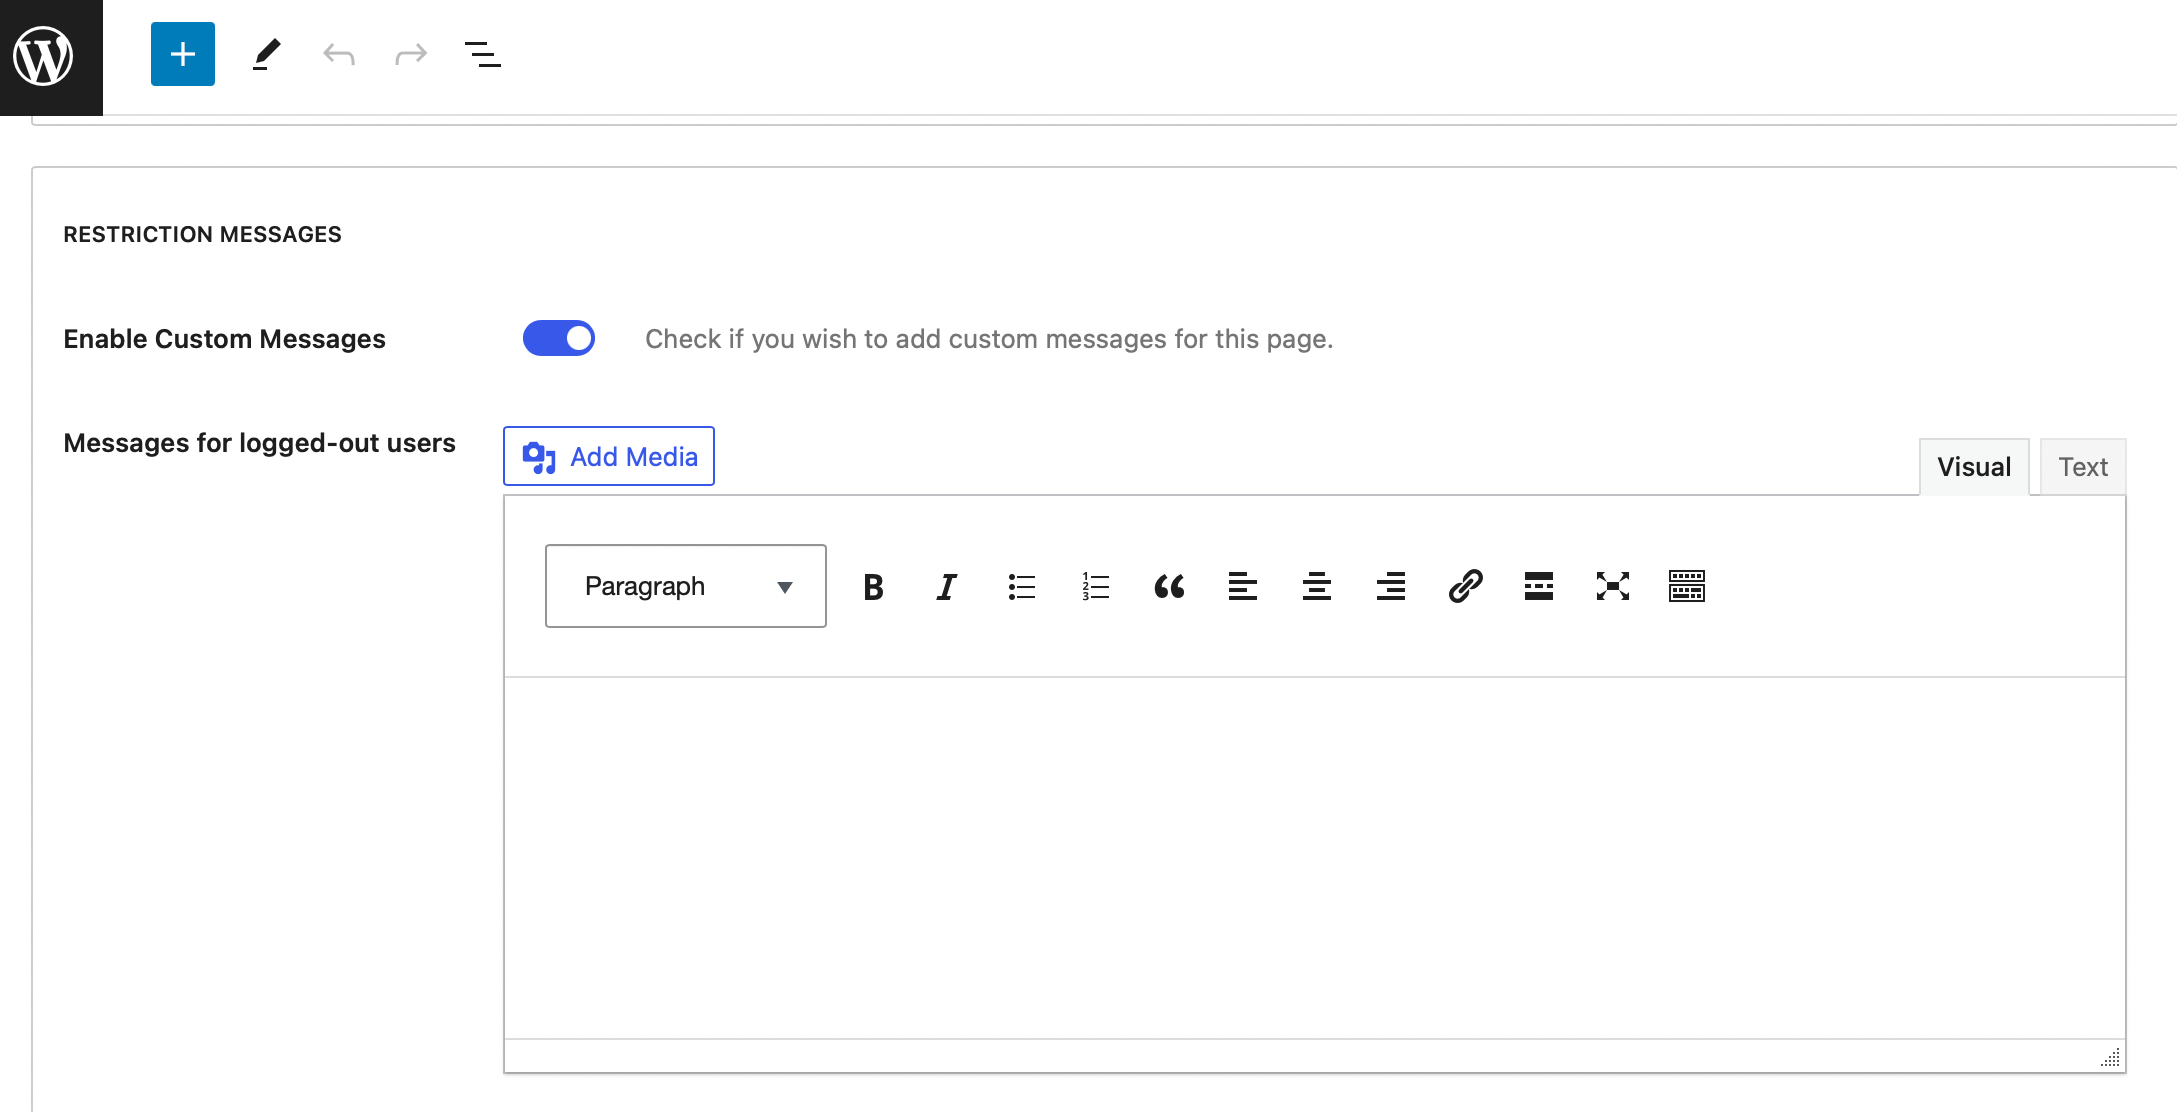
You can even create a message that will display when visitors without a membership try to access the content. Simply slide the Enable Custom Messages toggle and enter your text:
If you want to restrict access to content in bulk, you can install the Global Content Restriction Add-On. However, you’ll need the premium Paid Member Subscriptions plugin to do that.
At this point, you’ve successfully set up your WordPress membership site. All that’s left to do is create more content, and start promoting your website to drive traffic to its pages. You can use SEO strategies to gain more visibility in search engine results, leverage social media, and even build a mailing list.
Conclusion
A WordPress membership site is a great way to earn recurring revenue, nurture customer relationships, and build an engaged online community. Plus, with low startup costs and beginner-friendly tools available, it’s straightforward to set up.
To recap, here are five steps to start a membership site with WordPress:
- Choose a quality web host and install WordPress.
- Select a membership plugin such as Paid Membership Subscriptions.
- Create your subscription plans.
- Activate your preferred payment gateways.
- Produce members-only content.
The web host you choose will have a huge impact on the performance and security of your membership site. With HostDash WordPress plans, you’ll get unlimited fast storage, LiteSpeed Turbo servers, and free malware protection. Plus, there’s no risk involved, since we offer a 60-day money-back guarantee!
Image credit: Austin Distel.