Shared hosting for WordPress is very popular since it’s the most affordable solution. With this type of web hosting plan, you’ll share server space (and resources) with a number of other websites. But, you might be wondering: what’s the catch?
While it certainly has its advantages, there are some drawbacks to shared hosting that make it less suitable for some websites. For example, it can be more prone to downtime and other performance-related issues (especially if you share a server with high-traffic websites).
In this post, we’ll take a closer look at shared hosting. Then, we’ll discuss the main pros and cons. Finally, we’ll show you how to get set up with a shared hosting provider. Let’s jump right in!
What Is Shared Hosting?
Shared hosting is one of the most popular types of hosting for new website owners. The main benefit of shared hosting is that it’s very affordable since multiple websites share the same server.
To give you an idea, some websites (especially large ecommerce stores) might use dedicated hosting. In this scenario, there’s only one website hosted on the server. But, these hosting plans tends to cost hundreds or thousands of dollars.
Therefore, shared hosting is an economical solution that allows those on a budget to set up a website. However, it’s important to be aware that since you’re sharing a server, you’re also sharing resources with other websites, making it not viable for larger websites.
That said, shared hosting is a great option for low to medium traffic websites. You might want to set up a blog or online portfolio. Or, it can be a good fit for membership websites or photography sites.
The Pros of Shared Hosting for WordPress
As we mentioned briefly above, there are plenty of benefits to using shared hosting for WordPress. For starters, it’s without a doubt the most affordable hosting option.
In fact, you can get a shared hosting plan for just $2.95 with HostDash:
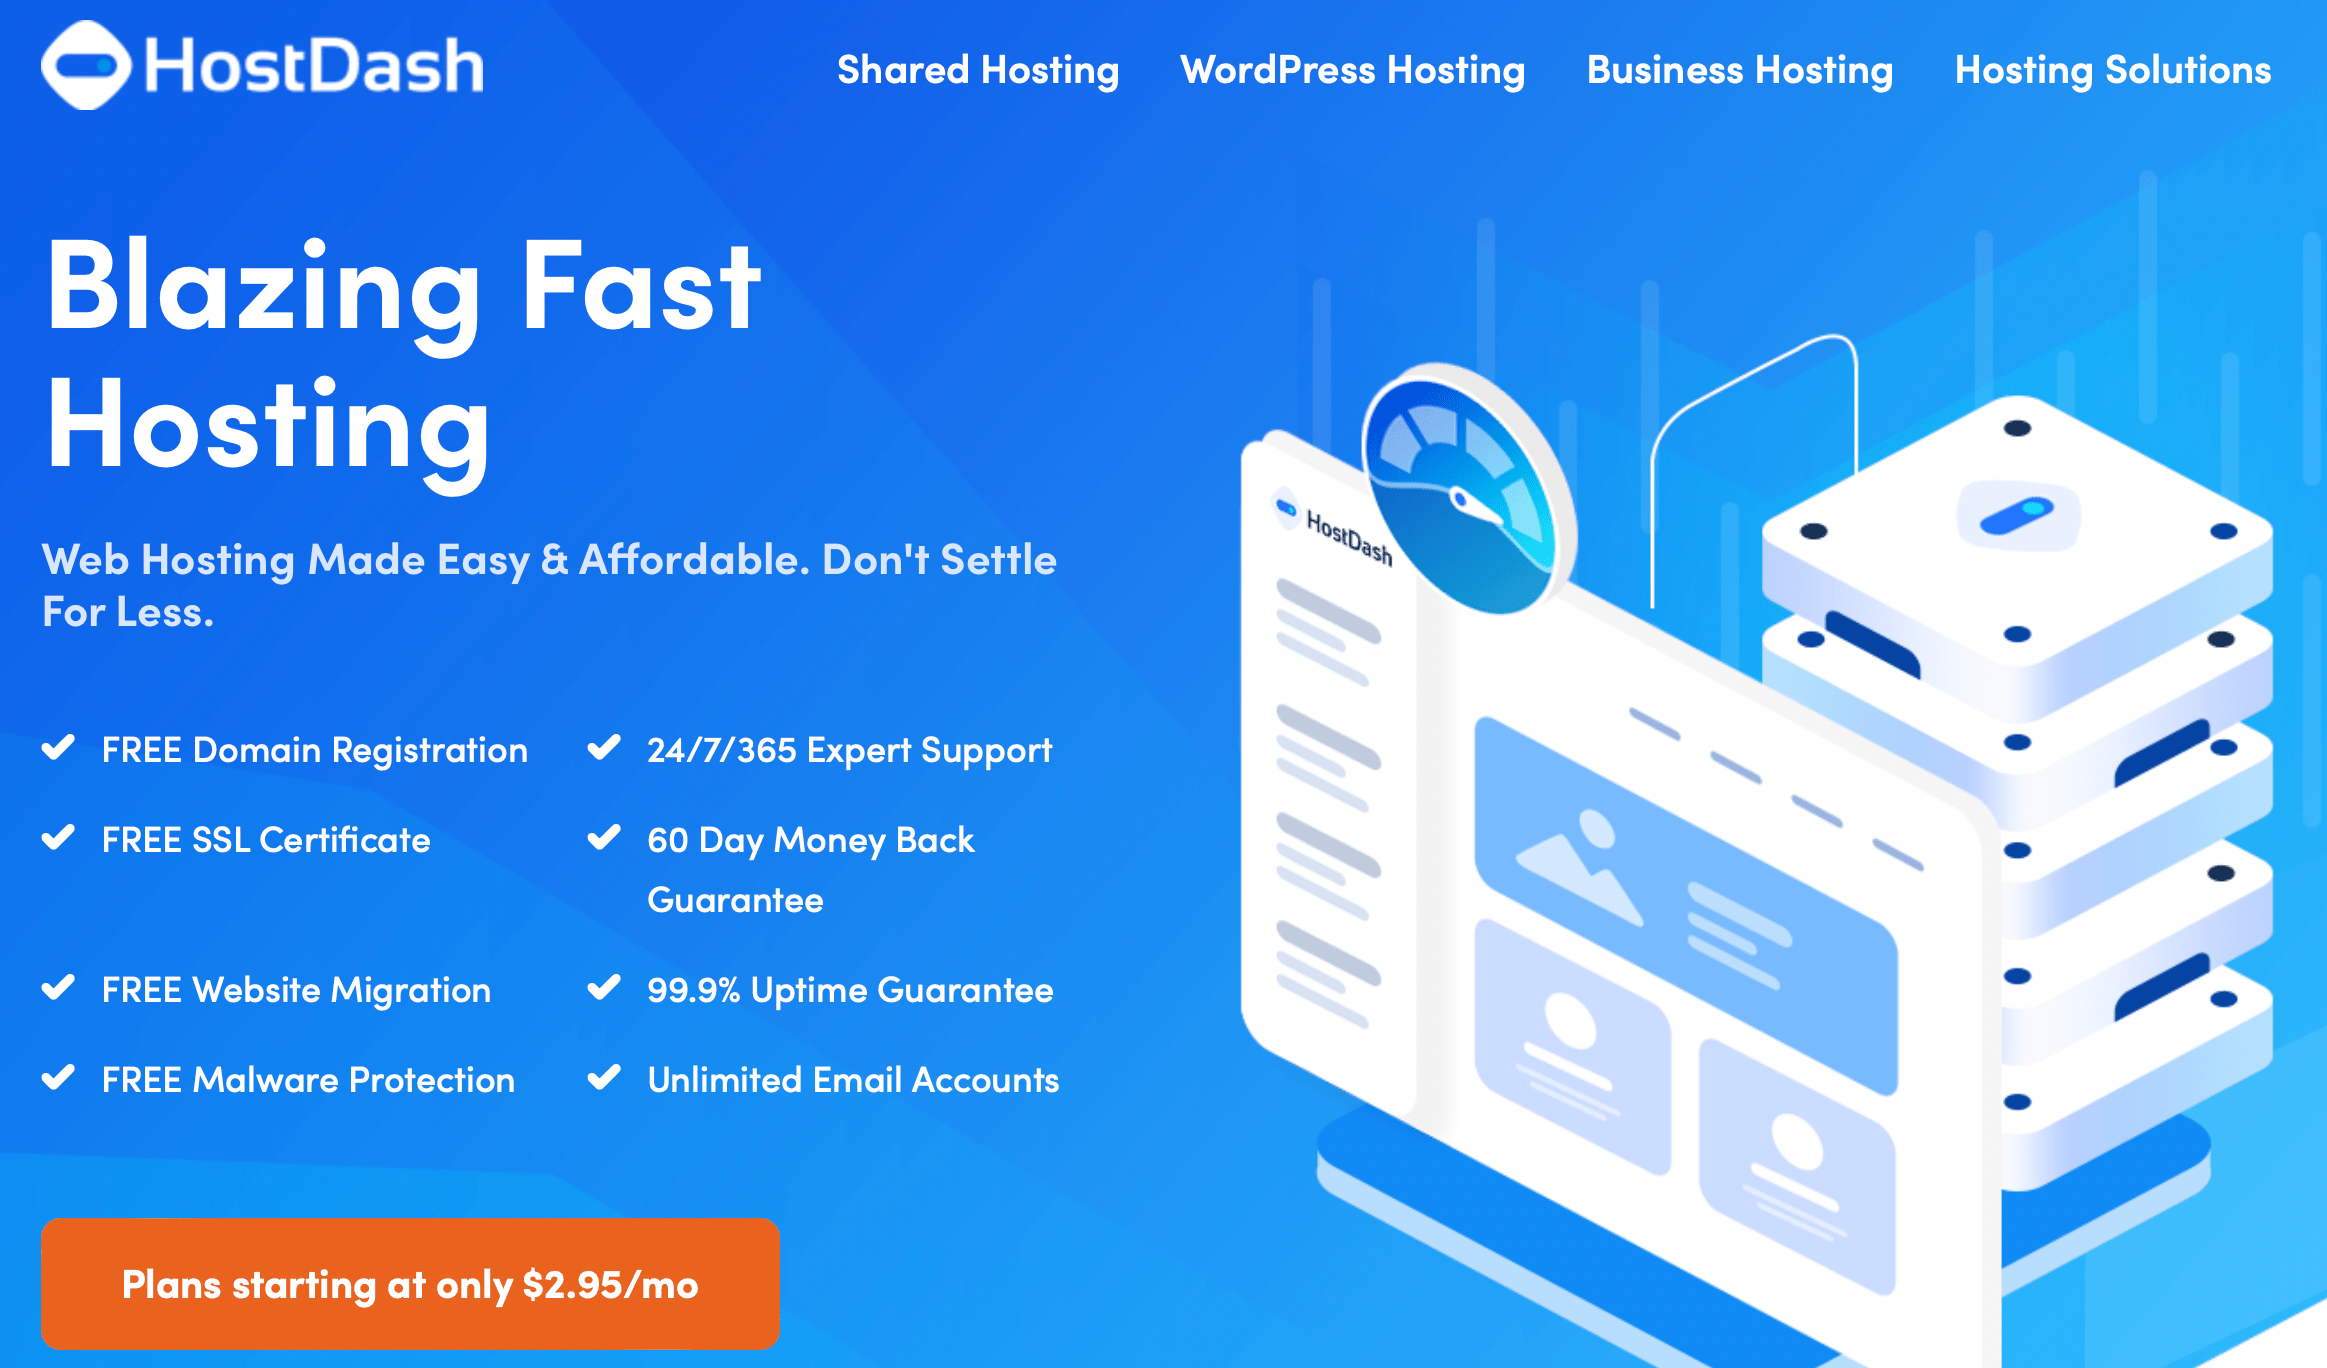
Better yet, this comes with tons of perks like a free SSL certificate, free malware protection, and a choice of server locations to boost content delivery times.
This makes shared hosting for WordPress ideal for beginners. Beyond convenience though, shared hosting is also a very scalable solution. As such, it can be a good choice if you’re expecting significant growth in the future.
This is because most web hosts offer multiple hosting tiers that allocate more resources to higher-priced plans. Or, eventually, you might even want to switch to a different type of hosting. Not only is this easy to do, but most hosting providers also offer free migrations.
The Cons of Shared Hosting for WordPress
Although there are certain benefits to shared hosting for WordPress, it’s important to be aware of the drawbacks. First off, since you’ll be sharing a server with other websites, you’ll get limited resources.
Meaning CPU & memory allowances are often lower than with alternative types of hosting. If you have a high traffic website this can have a significant impact on your website performance.
Additionally, shared hosting plans lack root access. Now, if you’re a beginner, this probably isn’t important. However, if you want to run a different operating system or install server-wide applications, you’d probably prefer virtual private server (VPS) hosting or dedicated hosting.
With all things considered, shared hosting is best for new, or small to medium traffic websites. If you need more resources or you want complete server access, you might prefer alternative solutions like VPS or dedicated hosting. Plus, you can even find plans optimized for certain platforms like WordPress.
How to Set Up Shared Hosting for Your WordPress Website (2 Steps)
Now that you know a bit more about shared hosting and whether it’s right for you, let’s take a look at two simple steps to set up shared hosting for WordPress websites.
1. Choose a Quality Web Host
The first step to get started with shared hosting for WordPress is to select a suitable web host. There are tons of hosting providers available. But, it’s important to choose one that’s affordable and offers all the features you need.
If you’re setting up a new website, you might prefer a hosting solution that provides extras like domain registration and an SSL certificate. Plus, if you lack technical skills, it’s a good idea to opt for a web host that offers customer support and provides a beginner-friendly control panel (like cPanel).
With that in mind, HostDash makes an excellent option for most types of websites. Even the shared hosting plans support unlimited traffic and unlimited storage:

Better yet, performance isn’t likely to be an issue since your website will be hosted on LiteSpeed Turbo servers, which speed up page load time. Plus, you can choose between US and EU server locations to reduce latency and boost content delivery times.
Not only that, but HostDash is great if you don’t want to deal with website maintenance like security. That’s because HostDash can detect and prevent a range of threats like malware (using artificial intelligence). Plus, it provides 24/7 customer support to help you resolve issues quickly.
2. Purchase a Suitable Plan
Once you’ve chosen a quality web host, it’s time to pick a specific plan. Fortunately, if you’ve opted for HostDash, there are three shared hosting plans to choose from. So, you’re sure to find one that suits your needs.
The most affordable shared hosting for WordPress costs $2.95 a month, and it’s ideal if you have just one website. You’ll get a free SSL, unlimited storage, free malware protection, and a 60-day money-back guarantee:
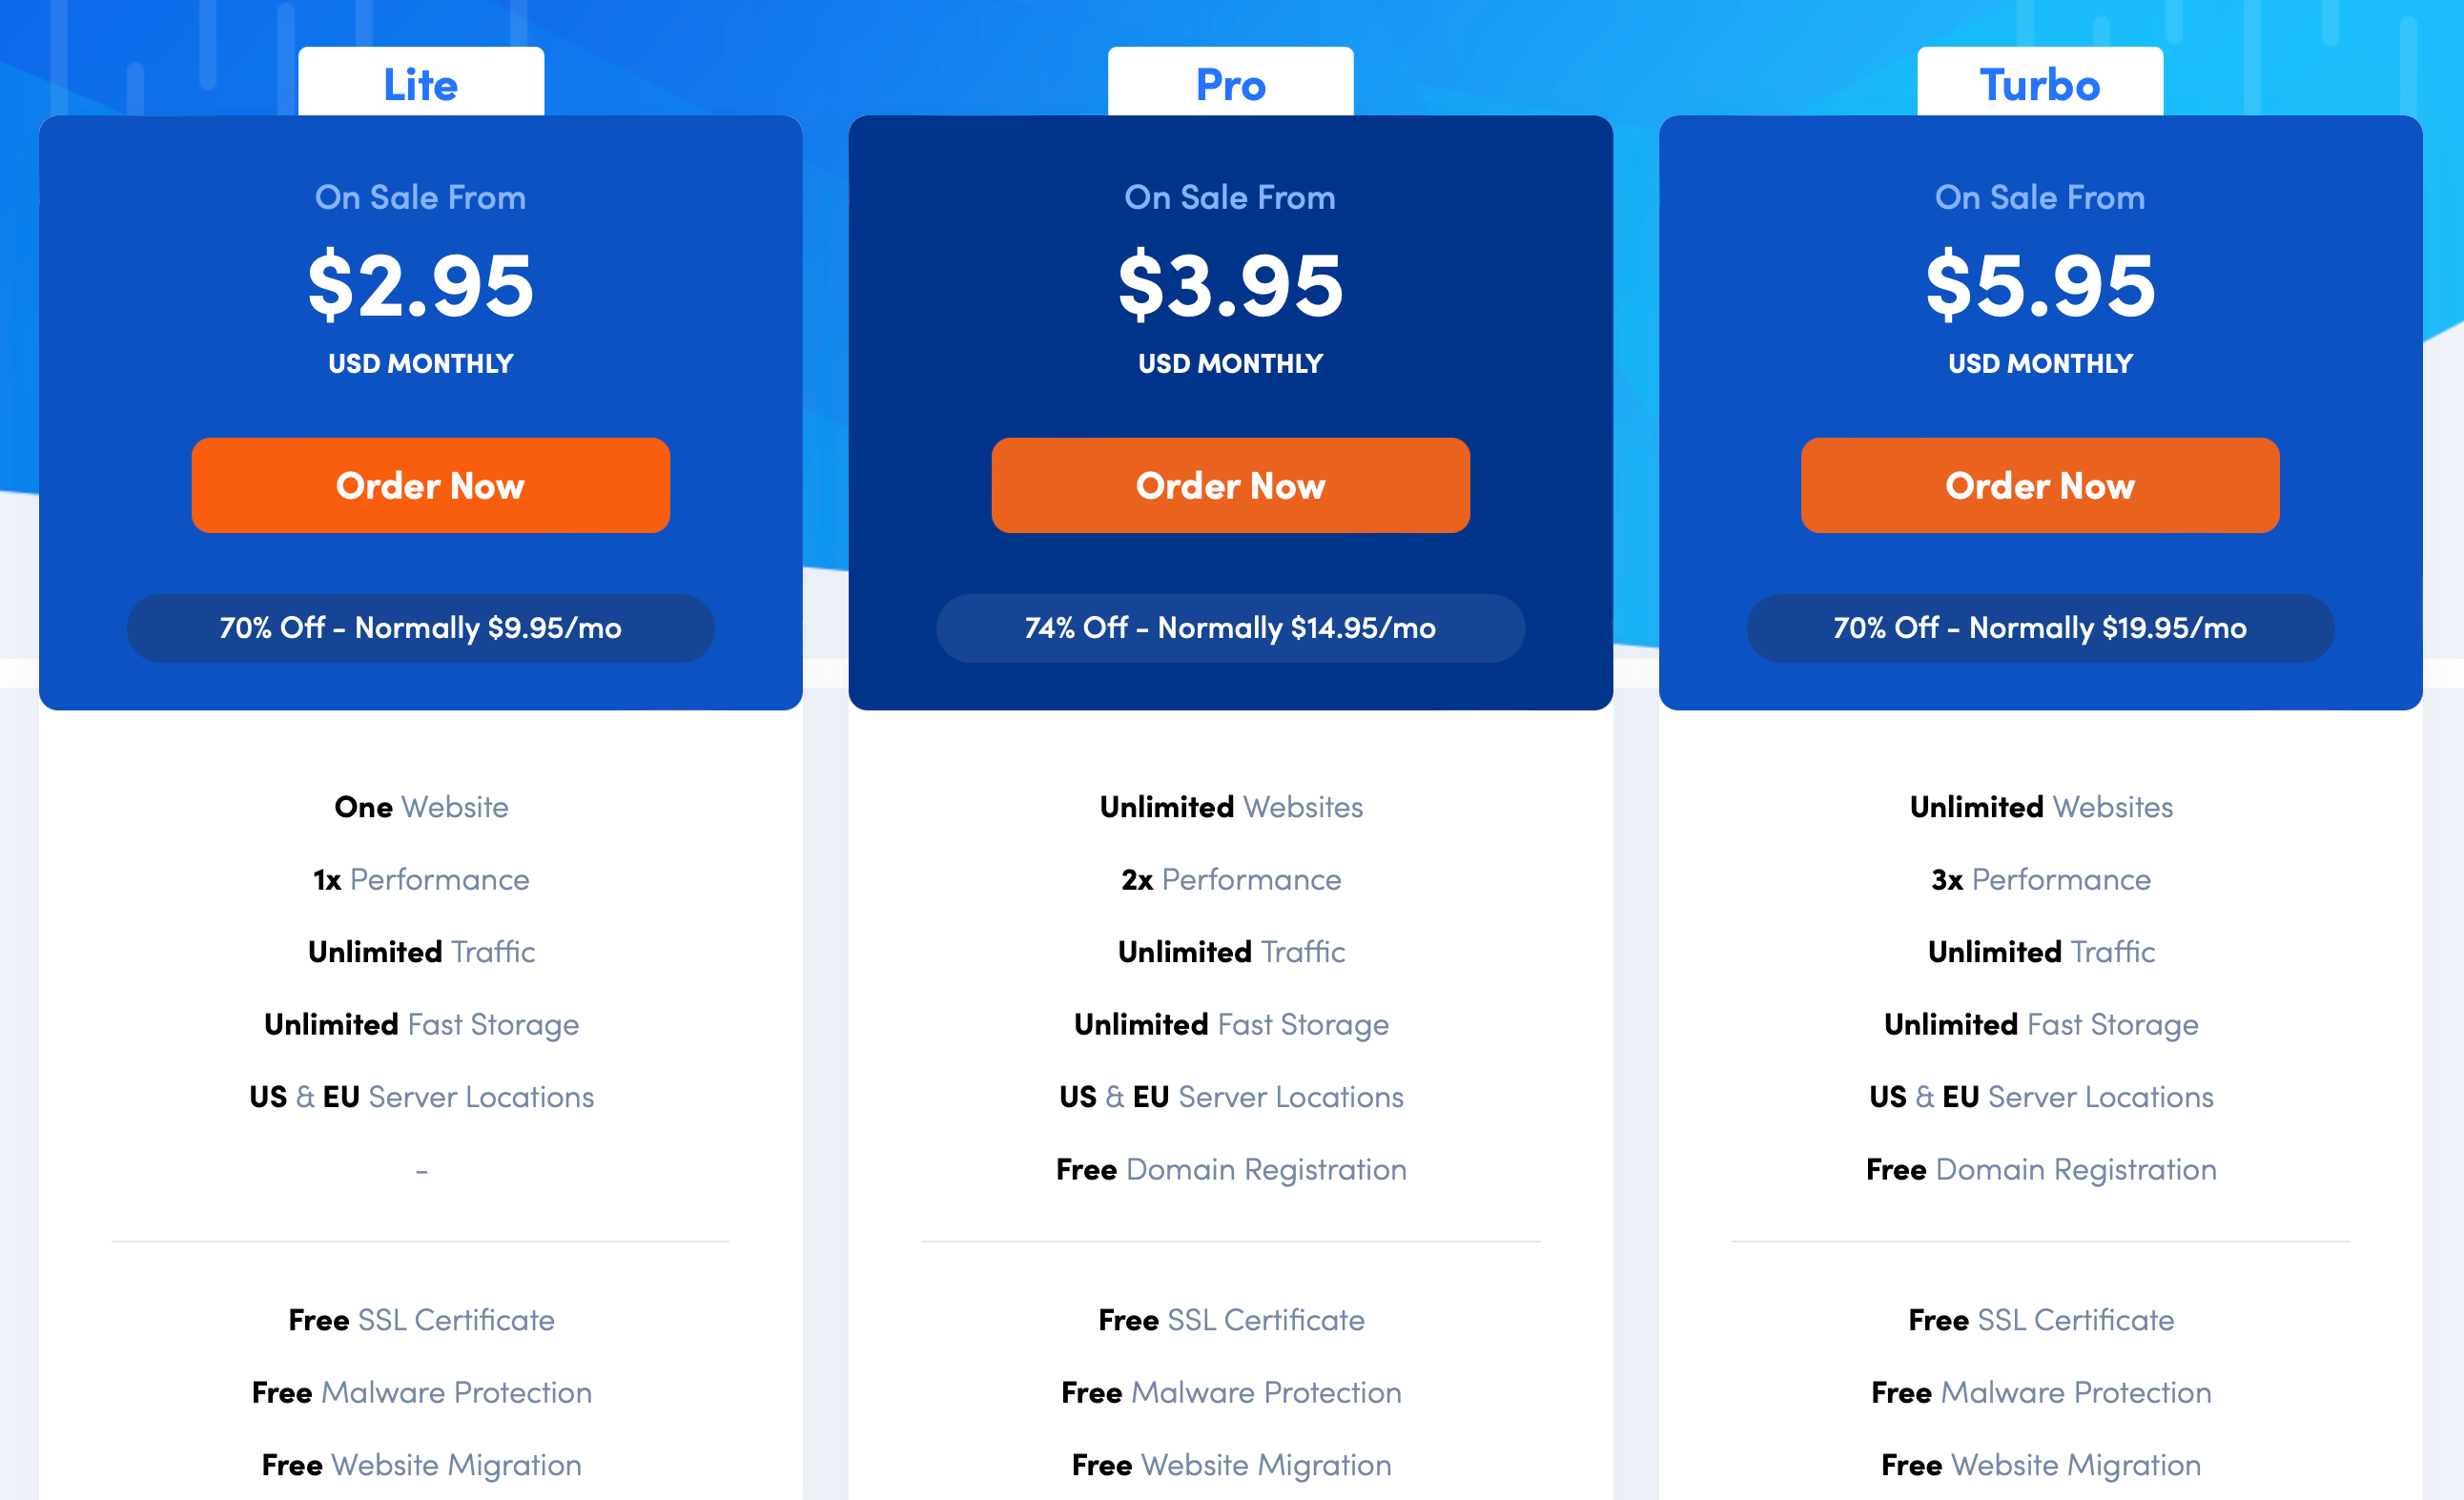
If you have more than one website, you might prefer the Pro package, which also adds free domain registration. And, if you want an extra performance boost, the Turbo plan starts at just $5.95 a month.
After you select your plan, you’re able to register a new domain or transfer one from another registrar. Alternatively, you can continue to use your current domain and update the nameservers yourself.
If you’re registering a new domain, you can first check whether it’s available:

Then, add the domain to your cart and continue with your purchase.
At this point, you can choose your preferred billing cycle. You’re able to pay monthly or yearly to reduce the overall cost. Next, you can pick between US or EU server locations, and auto-install apps like WordPress:

All that’s left to do is enter your payment details. Then, you should receive an email from HostDash to set up your website.
Conclusion
Shared hosting for WordPress is the most affordable solution. This makes it ideal for beginners and small websites like blogs and portfolios. However, it’s important to be aware of the limitations before you set up this type of hosting plan.
While they are cheap, convenient, and flexible, shared hosting packages doesn’t include the flexibility of root access (which is OK for most).
However, shared hosting providers like HostDash offer LiteSpeed Turbo servers to boost website performance. Plus, you’ll get a choice of server location, unlimited storage, and unlimited traffic. And, all plans come with a free SSL certificate and free malware protection. Get started with HostDash shared hosting today!
Featured image credit: Pexels.