You can use WordPress to build almost any type of website. However, the Content Management System (CMS) shines when it comes to specific types of sites, such as blogs and photography portfolios. There are a lot of features you can use to create a photography website with WordPress, and they’re all beginner-friendly.
If you’re thinking about hiring someone to create a photography website with WordPress, take a moment to read this article and see what the process looks like. Chances are, you’ll realize it’s a lot easier than you might think. You just need a web host, a WordPress theme, and to create a few basic pages.
In this article, we’ll walk you through the steps to create a photography website with WordPress. We’ll also discuss why WordPress is the perfect option for a photography portfolio. Let’s begin!
Why Use WordPress for Your Photography Portfolio
Before we show you how to create a photography website with WordPress, let’s talk about why you may want to do so.
WordPress is an incredibly versatile CMS. You can use it to create almost any type of website, since the software is fully open source and there are thousands of plugins and themes to customize it. Moreover, learning how to use WordPress is relatively straightforward, even if you’re new to web design.
Additionally, portfolio websites are among the most common types of projects for WordPress users. You can easily set up WordPress on any web host, find a theme you like, and start creating pages and galleries for your work:

One of the primary advantages of using WordPress is you don’t need to know how to code to build a website. When it comes to portfolios, you can find hundreds of plugins for almost any feature you want to implement (that’s not already a part of WordPress). For example, you can add sliding galleries, Instagram feed integrations, and more.
Furthermore, WordPress lets you use a visual editor to create pages. It’s called the Block Editor, and it enables you to use prebuilt elements, like columns, rows, headings, galleries, and more. Plus, you can customize and arrange these elements however you want.
Basically, to build a photography portfolio with WordPress, you’ll need to decide what pages and features you need. Then, you can use the editor to create those pages and find plugins that add the functionality you want. In terms of design, the theme you choose will do most of the heavy lifting, and you may only need to customize some aspects of it.
Finally, WordPress is a relatively inexpensive option. The CMS itself is free, so you only need to pay for hosting and a domain name to start with.
How to Create a Photography Website With WordPress (In 3 Steps)
Now that you know the benefits of using the CMS, we’re going to show you how to create a photography website with WordPress.
Step 1: Find a Suitable Web Hosting Provider
If this is your first time working on a website, it’s important to understand that your choice of web hosting is critical. So, which web hosting provider you choose shouldn’t just depend on how much it costs. (Although that’s a major factor in most cases.)
Fortunately, great hosting doesn’t have to be expensive. Some quality web hosts, like HostDash, offer WordPress shared hosting plans that fit most budgets and offer great performance:

With a photography portfolio, you’re likely to upload dozens, if not hundreds, of high-quality image files. That can make for slow-loading pages unless you optimize your site and use a web host that offers great performance from the get-go.
Our recommendation is to start with a basic shared hosting plan if this is your first website. That way, you’ll get an idea of how good site performance can be. Then you can choose to upgrade if you feel your site needs more resources.
If you sign up for a WordPress hosting plan, your provider will usually install the CMS for you automatically (HostDash does this). That means you can hit the ground running, and you won’t have to spend time figuring out how to install WordPress manually.
Step 2: Choose a Photography Portfolio Theme
Choosing a theme is one of the most important decisions you’ll make when building a WordPress website. Once you find the perfect theme, chances are you’ll be using it for a long time, so you won’t want to rush your decision.
You have thousands of options to choose from (free and paid). However, we recommend focusing on free themes if you’re new to WordPress. Premium themes can be great, but they tend to include a lot of extra features, and it’s hard to know what you really need when you’re new to the CMS.
With that in mind, check out the WordPress Theme Repository. Every theme there is free, and you can filter for options geared toward photography sites:
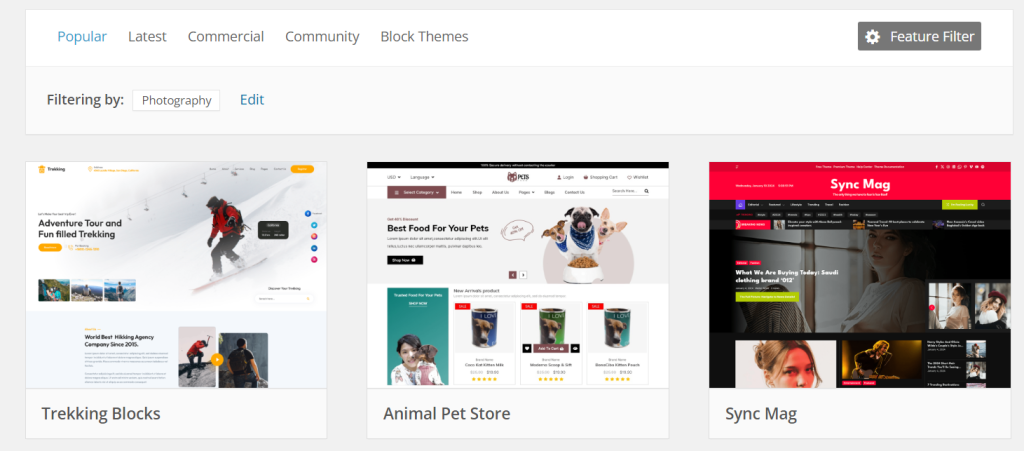
If you’re not sure where to start, focus on themes that emphasize images and include gallery designs you like. Or, you may be looking for an option that comes with certain core pages like “about” and “blog”.
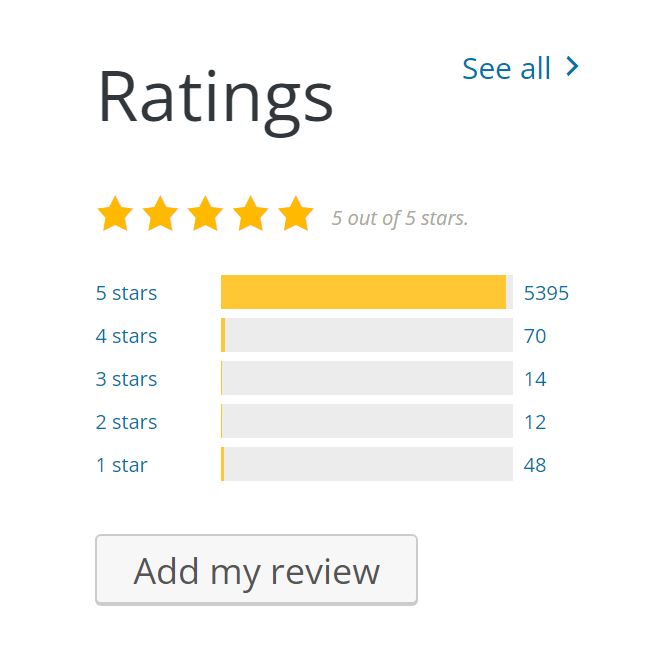
When choosing, make sure to pay attention to theme ratings. It’s best to stick with themes that have ratings of four out of five stars (or more) and plenty of installations. That typically means the theme gets regular updates and that it has an active user base:
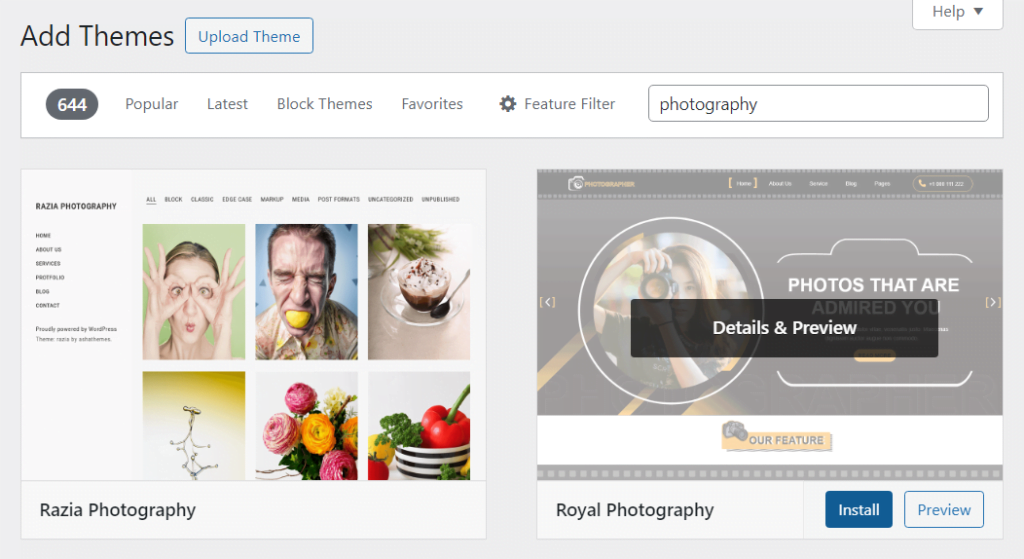
When you’re ready to test a theme, open the WordPress dashboard and go to Appearance > Themes > Add New Theme. You can use the search function to find the theme you like. Then, select the Install option by hovering over it:
After installing the theme, select it once more and click on Activate to enable it. Now, visit your homepage and see the new design in action. If you don’t like how it looks, try more themes until you find the perfect option.
Step 3: Create Pages and Add Galleries
The last step in learning how to create a photography website with WordPress is to get familiar with the Block Editor. You’ll need to learn how to use it to create and customize pages.
When you add a new page in WordPress, it’ll launch the Block Editor. This is the visual builder you’ll use to create pages and posts. As the name suggests, the editor lets you use blocks, which are pre-built designs for specific elements, like paragraphs, galleries, columns, and much more:
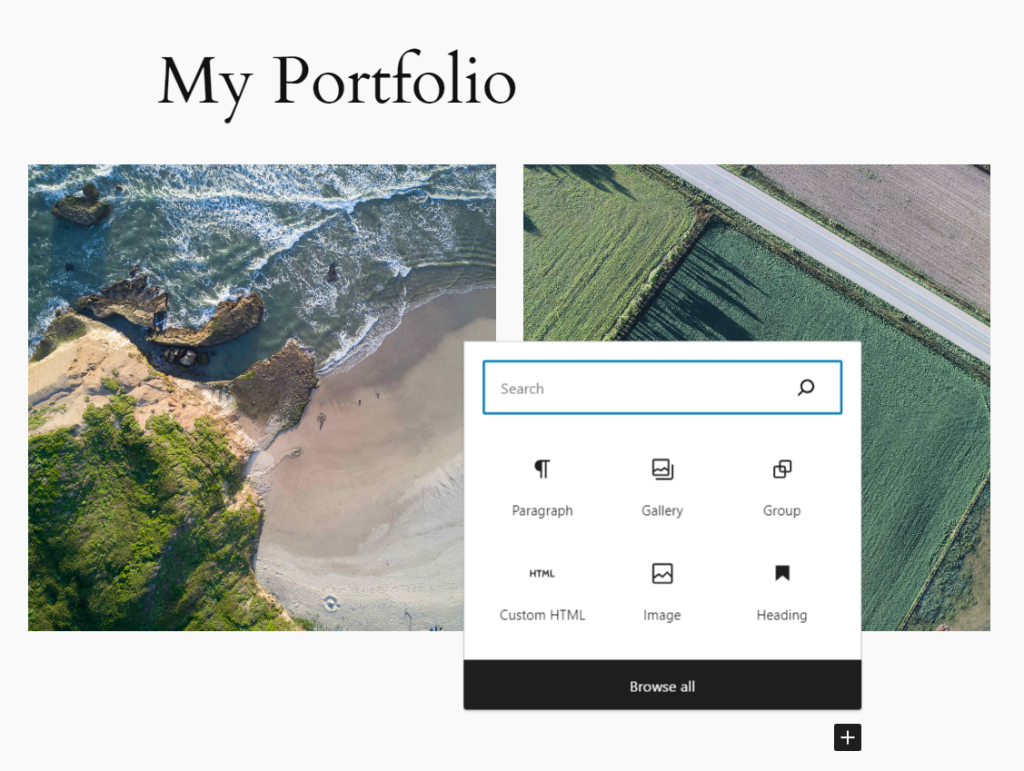
You can click on the plus sign icon in the editor or at the top of the screen to add new blocks. Additionally, you can select blocks that are already on the page and re-arrange them by dragging and dropping them:
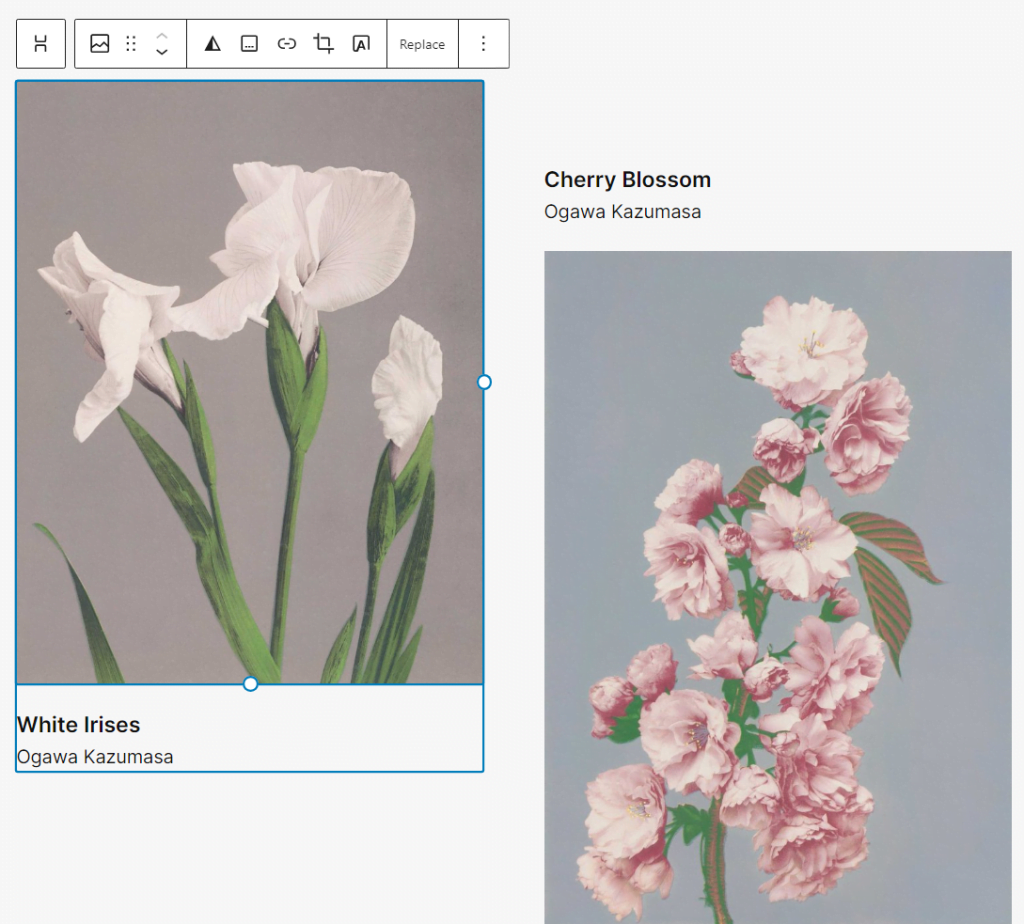
When you click on a block, you’ll also see customization options to the right. These settings will enable you to change how the block looks and behaves:
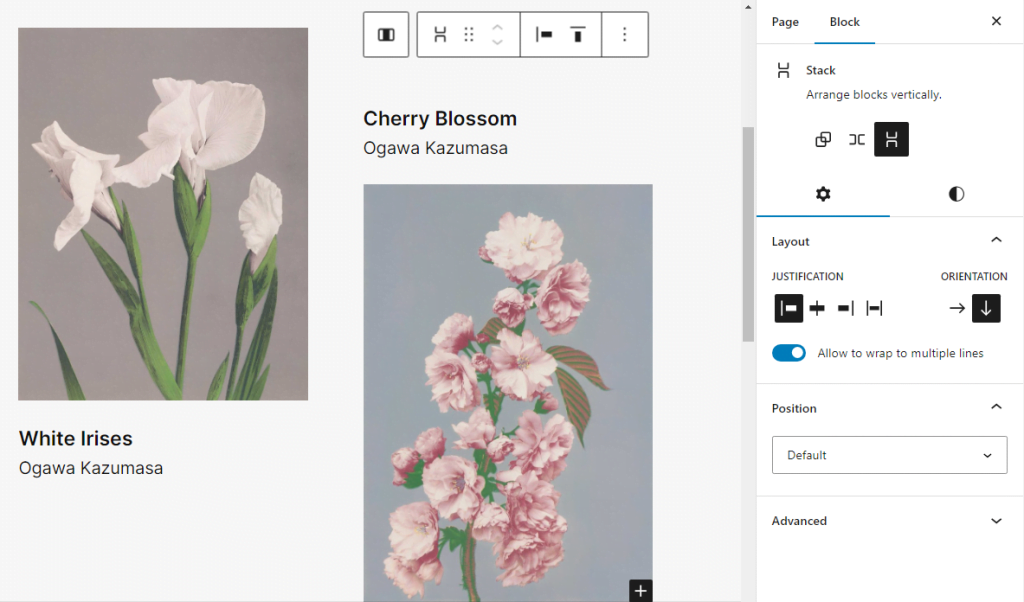
These settings vary depending on the block you’re using.
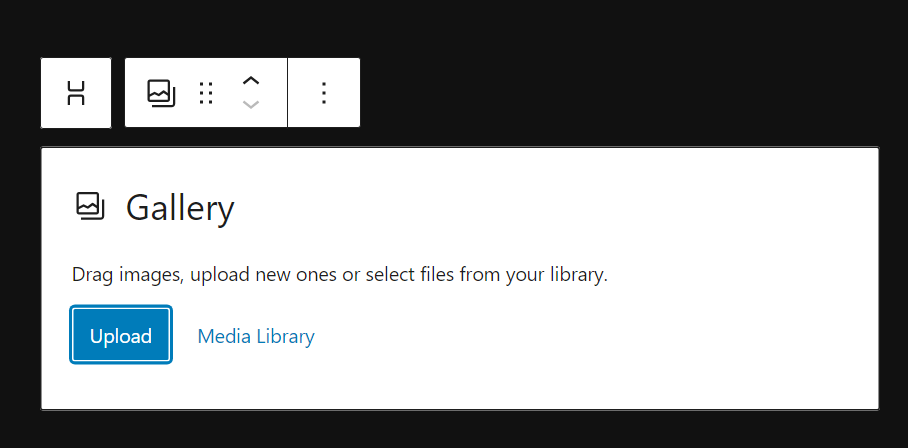
The most important blocks for a photography website are the Image and Gallery options. When you click on either one, you’ll be able to select images from the WordPress Media Gallery, or upload new ones:
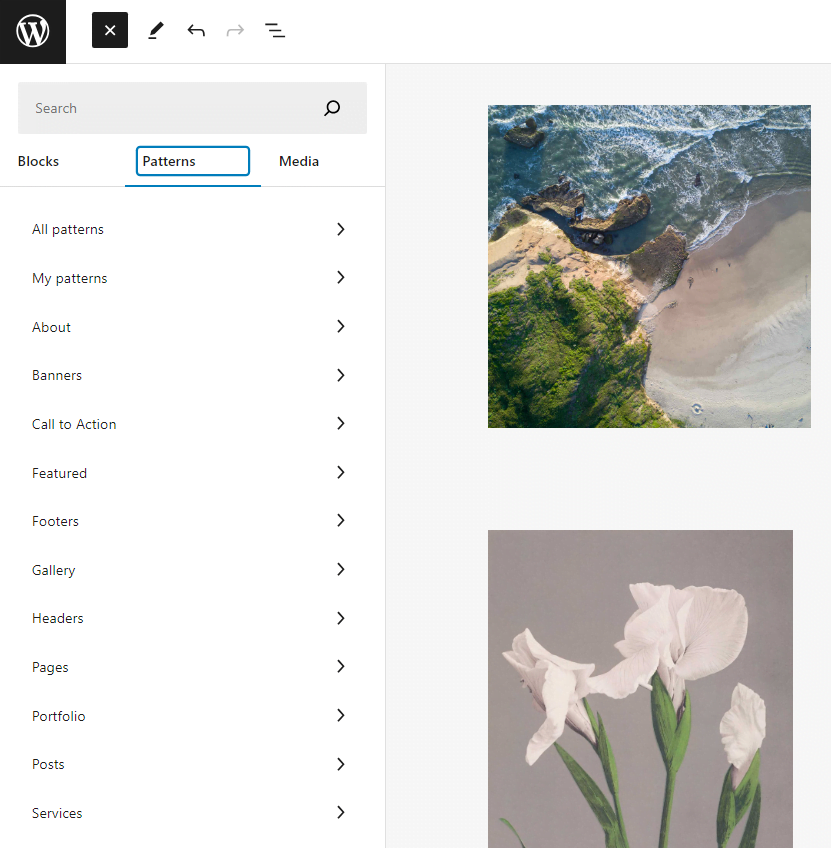
If you’re struggling to figure out how to create aesthetically pleasing pages, we recommend checking out the patterns that your theme offers. Patterns are pre-designed arrangements of blocks that you can use as starting points for your pages.
To find your pattern options, select the plus sign in the top navigation menu within the Block Editor. Click on the Patterns tab and look for designs that may be useful to you:
Here’s a quick look at some of the available Gallery patterns for the theme we’re using:

If you find some patterns you like, you can mix and match them, or use different designs for each page.
When you’re happy with how a page looks, go ahead and click on Publish, and it will go live on your site. You’ll need to do this for as many pages as you want your photography website to include, so you’ll want to take the time to get everything right before you start advertising your site.
Extra tip: Once you’re happy with your site’s design and have some pages ready, you can start checking out plugins that might make your life easier. We recommend waiting until you’re familiar with how WordPress and the Block Editor work so you’ll have a better idea of the features you want to add.
Conclusion
If you don’t have any technical skills in web design, building a portfolio site might sound intimidating. However, learning how to create a photography website with WordPress doesn’t have to be stressful. That’s because the CMS is highly straightforward, and doesn’t require any coding skills to use.
If you’re thinking about launching a photography website using WordPress, start with these three simple steps:
- Find a suitable web hosting provider.
- Choose a photography portfolio theme.
- Create pages and add galleries.
Now that you know how to create a photography website with WordPress, it’s time to get to work. Check out our WordPress hosting plans and start building your website today!
Image credit: Pixabay.